
Boss
17 · Find entry requirements, phase-by-phase tactics, post-battle rewards, and map locations.
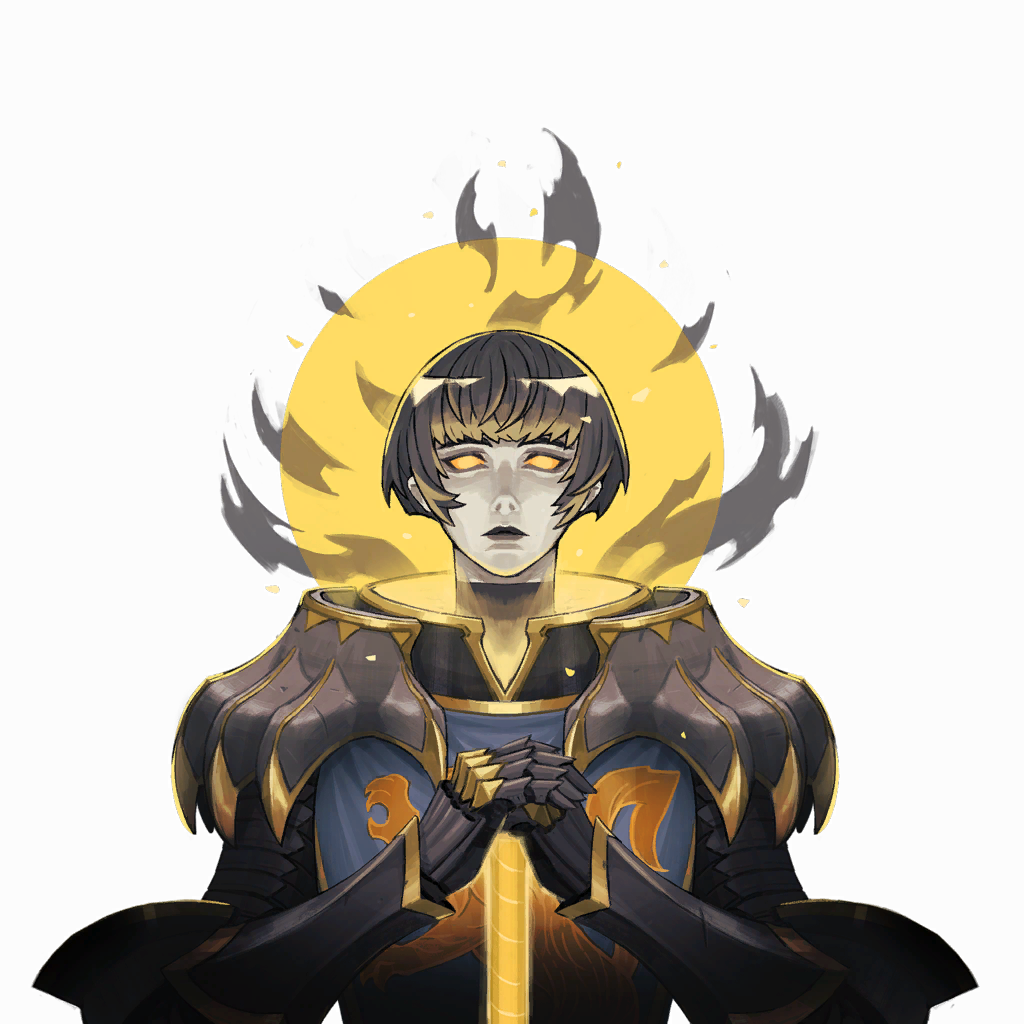 Joan
When you see a jumping descent attack, move away from the landing point first; when fireballs and fire pillars appear, prioritize movement over damage; approach only once the landing points and lingering flames leave a clear path.
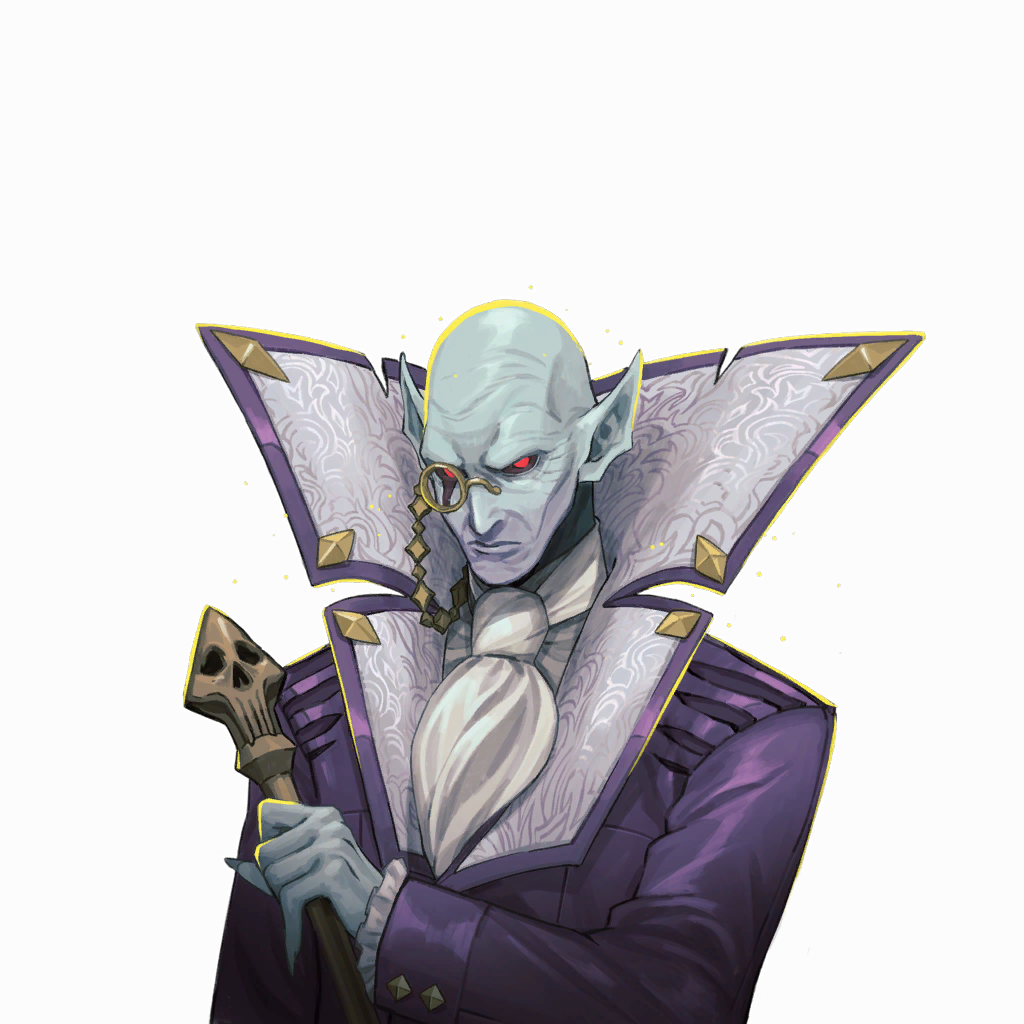 Brauner
First defeat Talos at Throne of the Builder, then collect Smash at the tutorial location in Clock Tower. Defeating Talos alone is not enough.
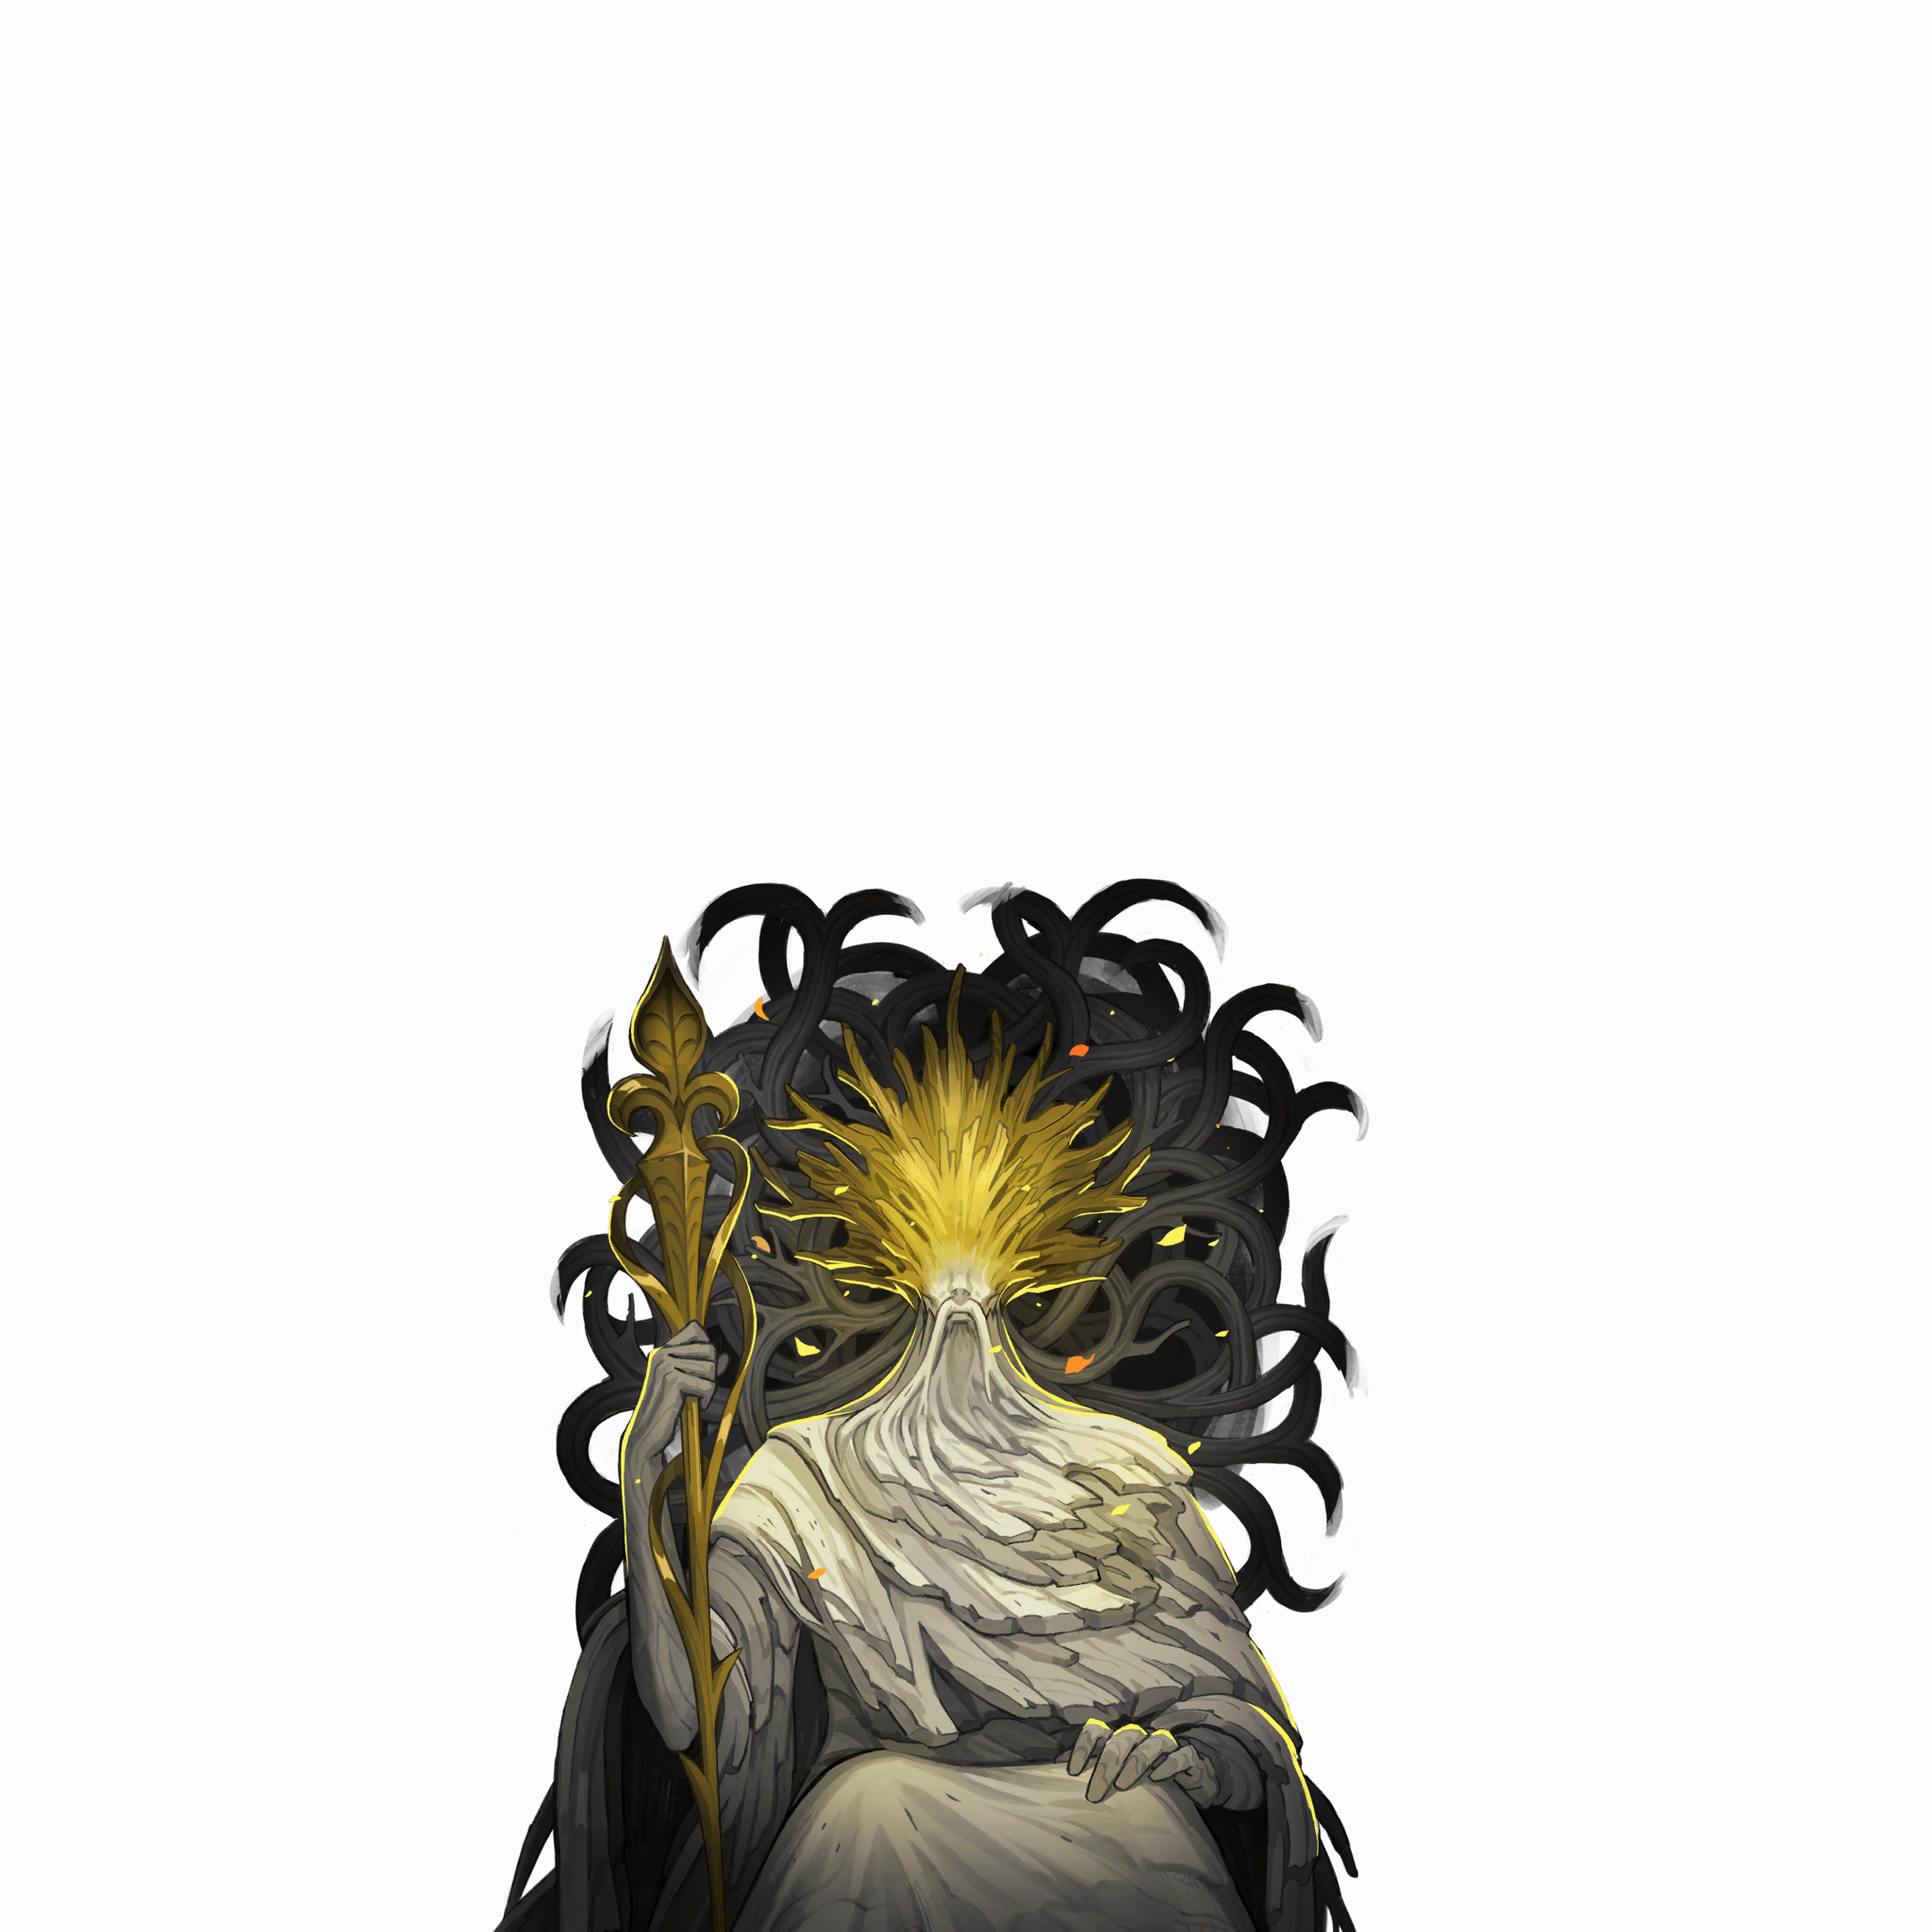 Saint Louis
This is a stat trial rather than a regular fight. Check your maximum HP and MP first, withstand the 32 rounds of deductions, then interact with the reward orb.
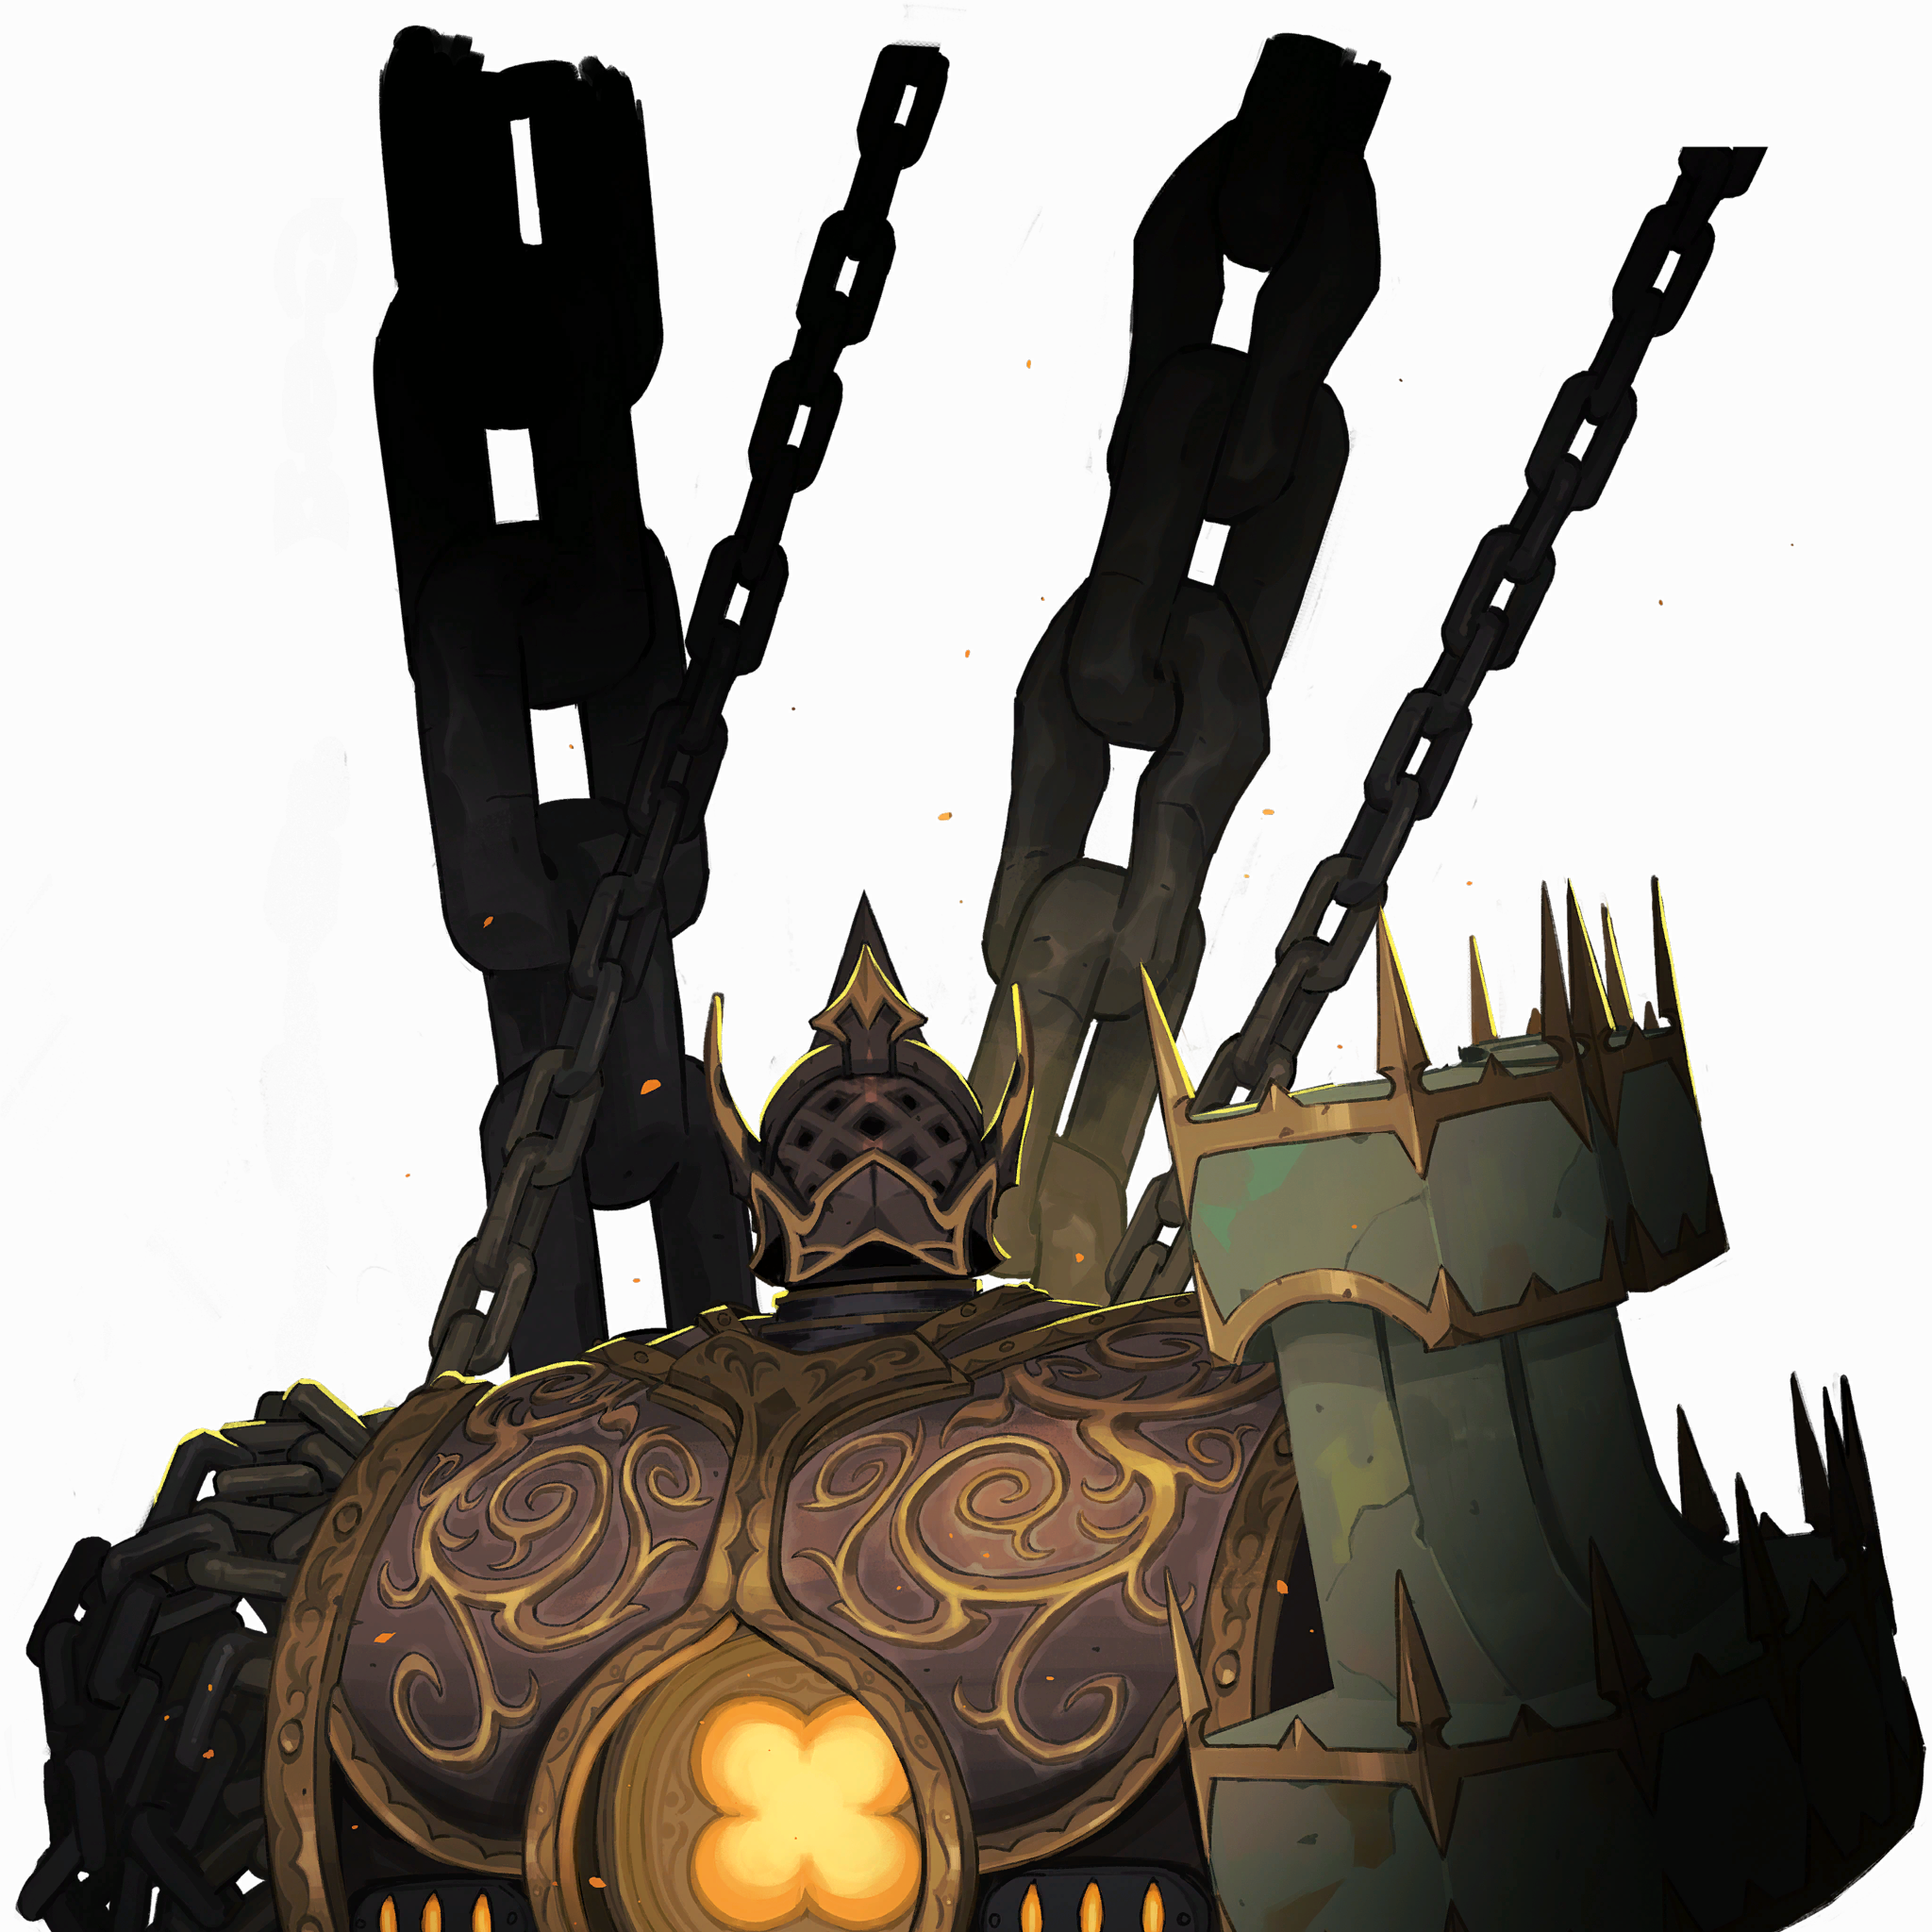 Talos
While the body’s shield is active, prioritize destroying the drones maintaining it. Breaking the shield requires zero surviving linked drones. Leaving even one prevents this shield break.
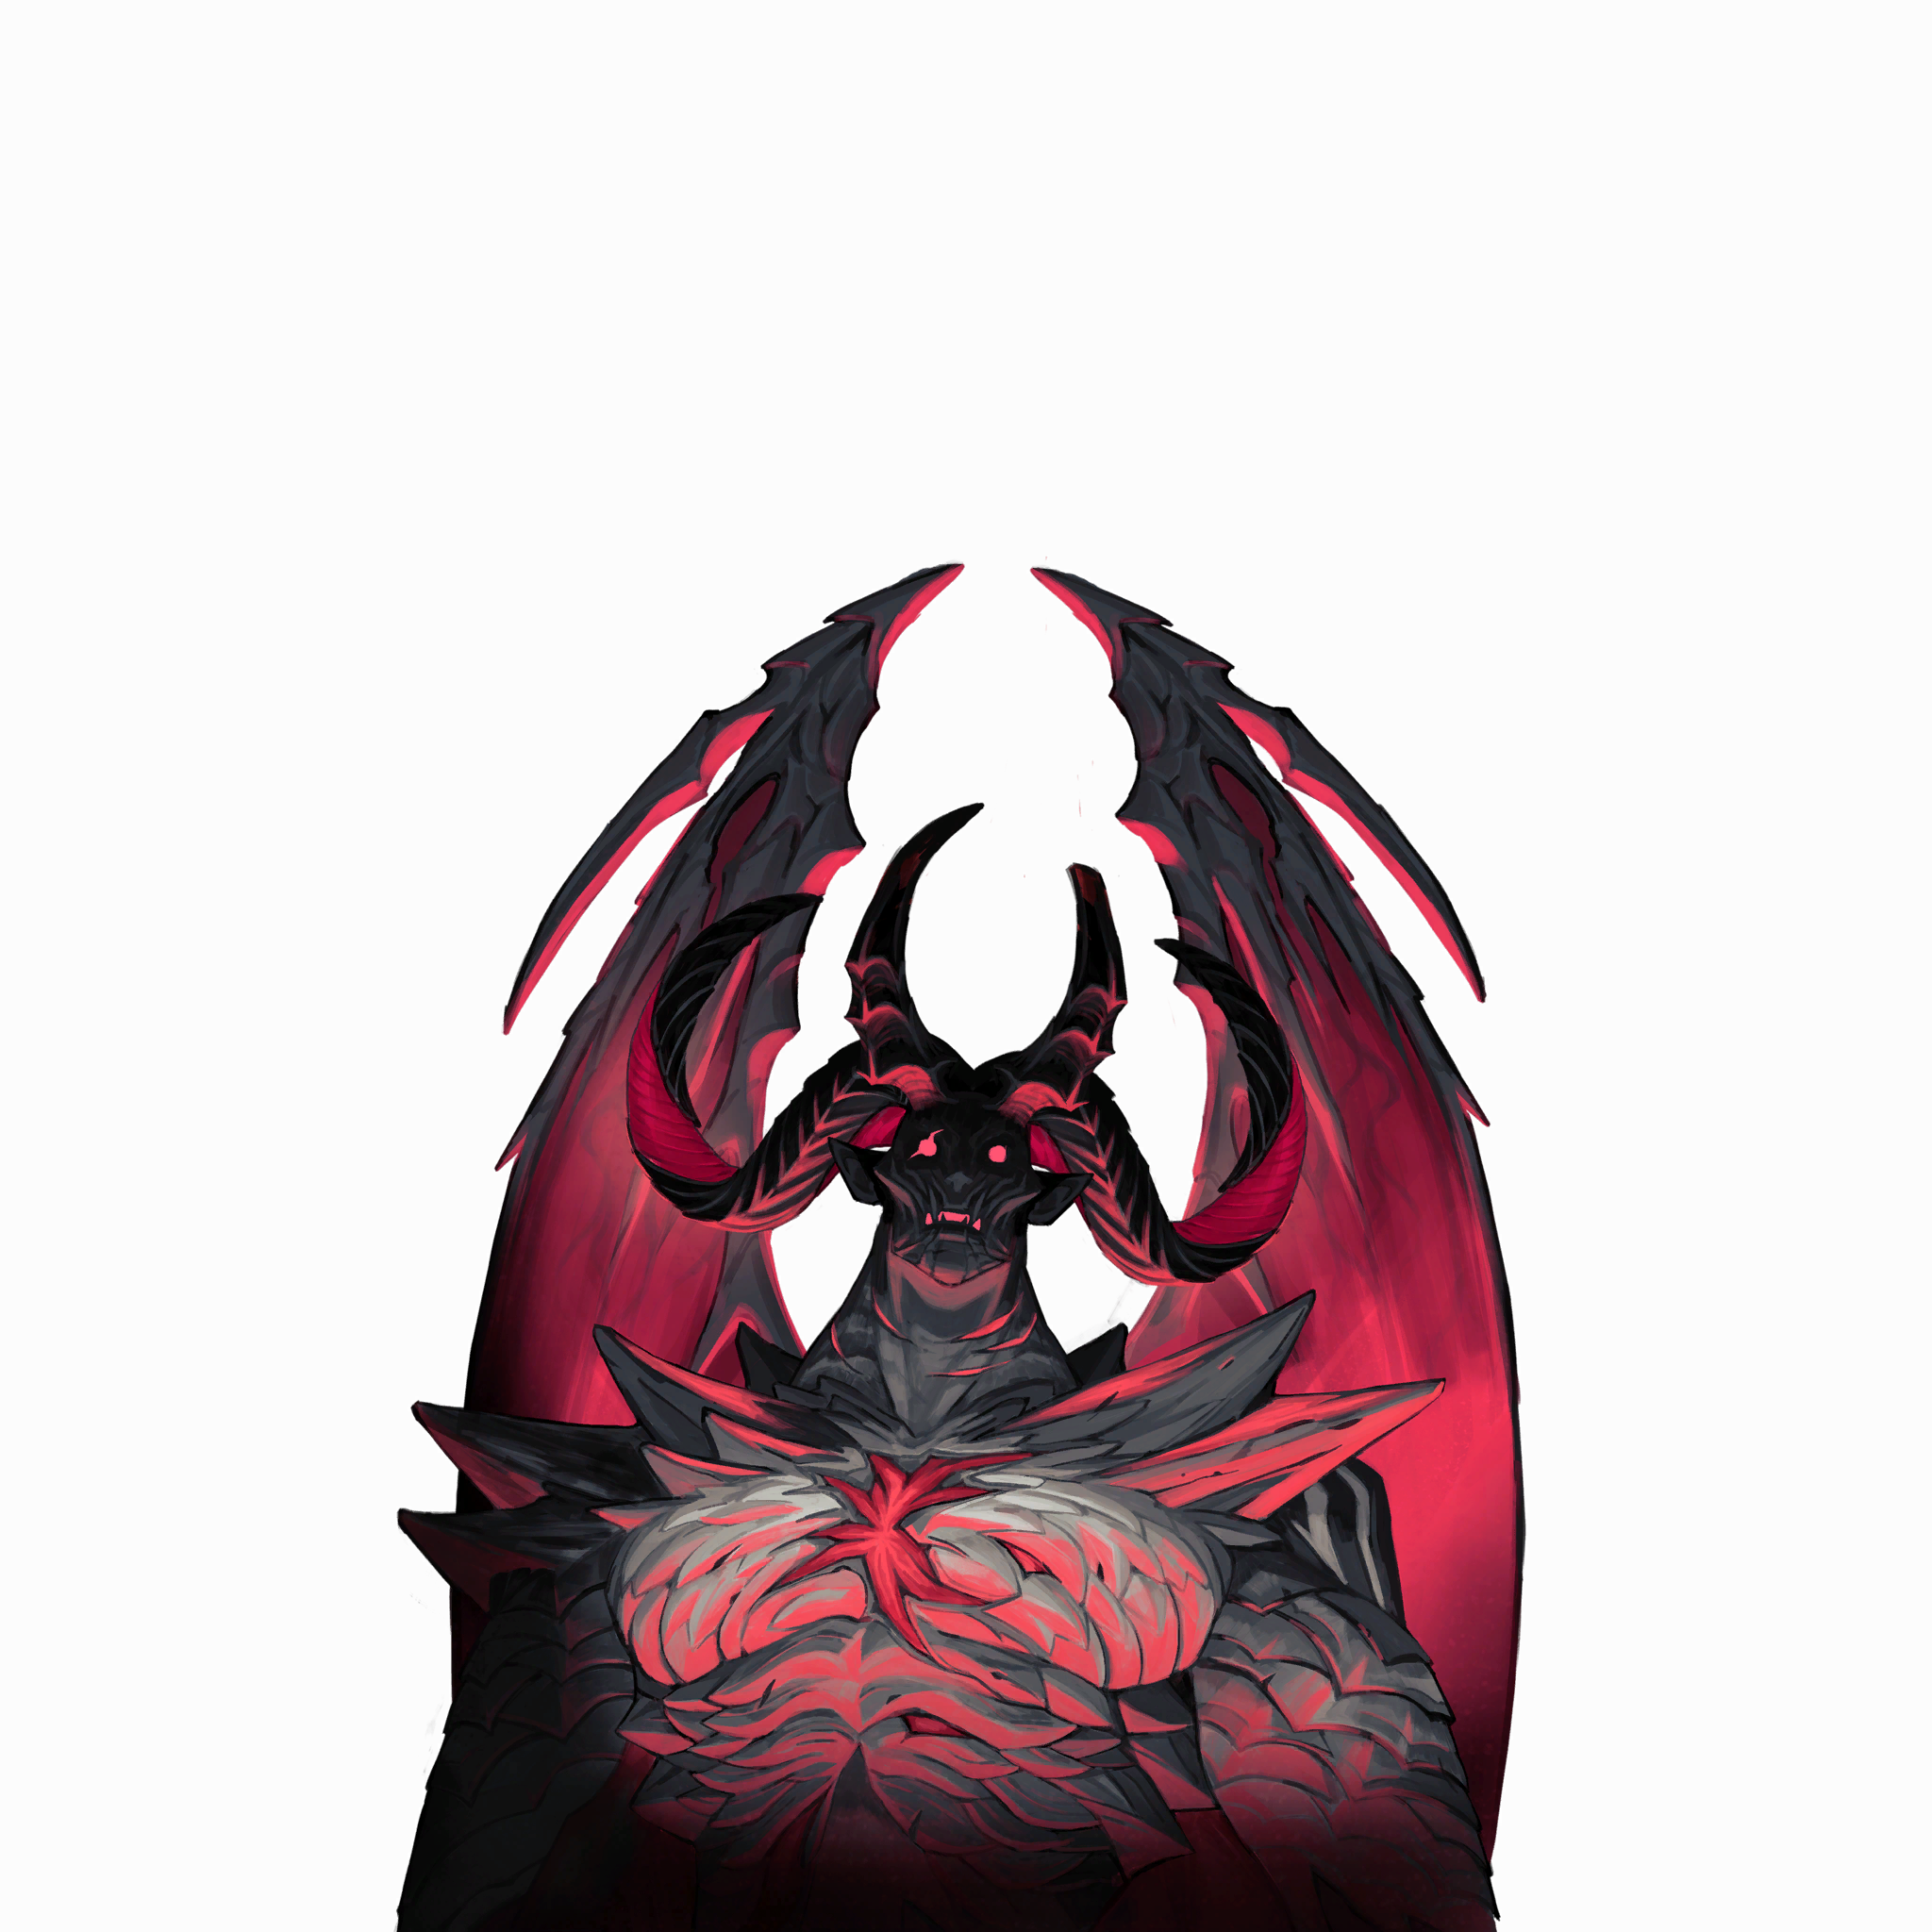 Dracula (beast form)
Claw strikes form a combo, and the third part may also turn around. Wait for the full combo to end before approaching; do not treat being behind it as a permanently safe position.
 Succubus
During the solo phase, it uses teleportation, melee attacks, and ranged projectiles. Recheck its position after every teleport; finish evading the current attack before counterattacking.
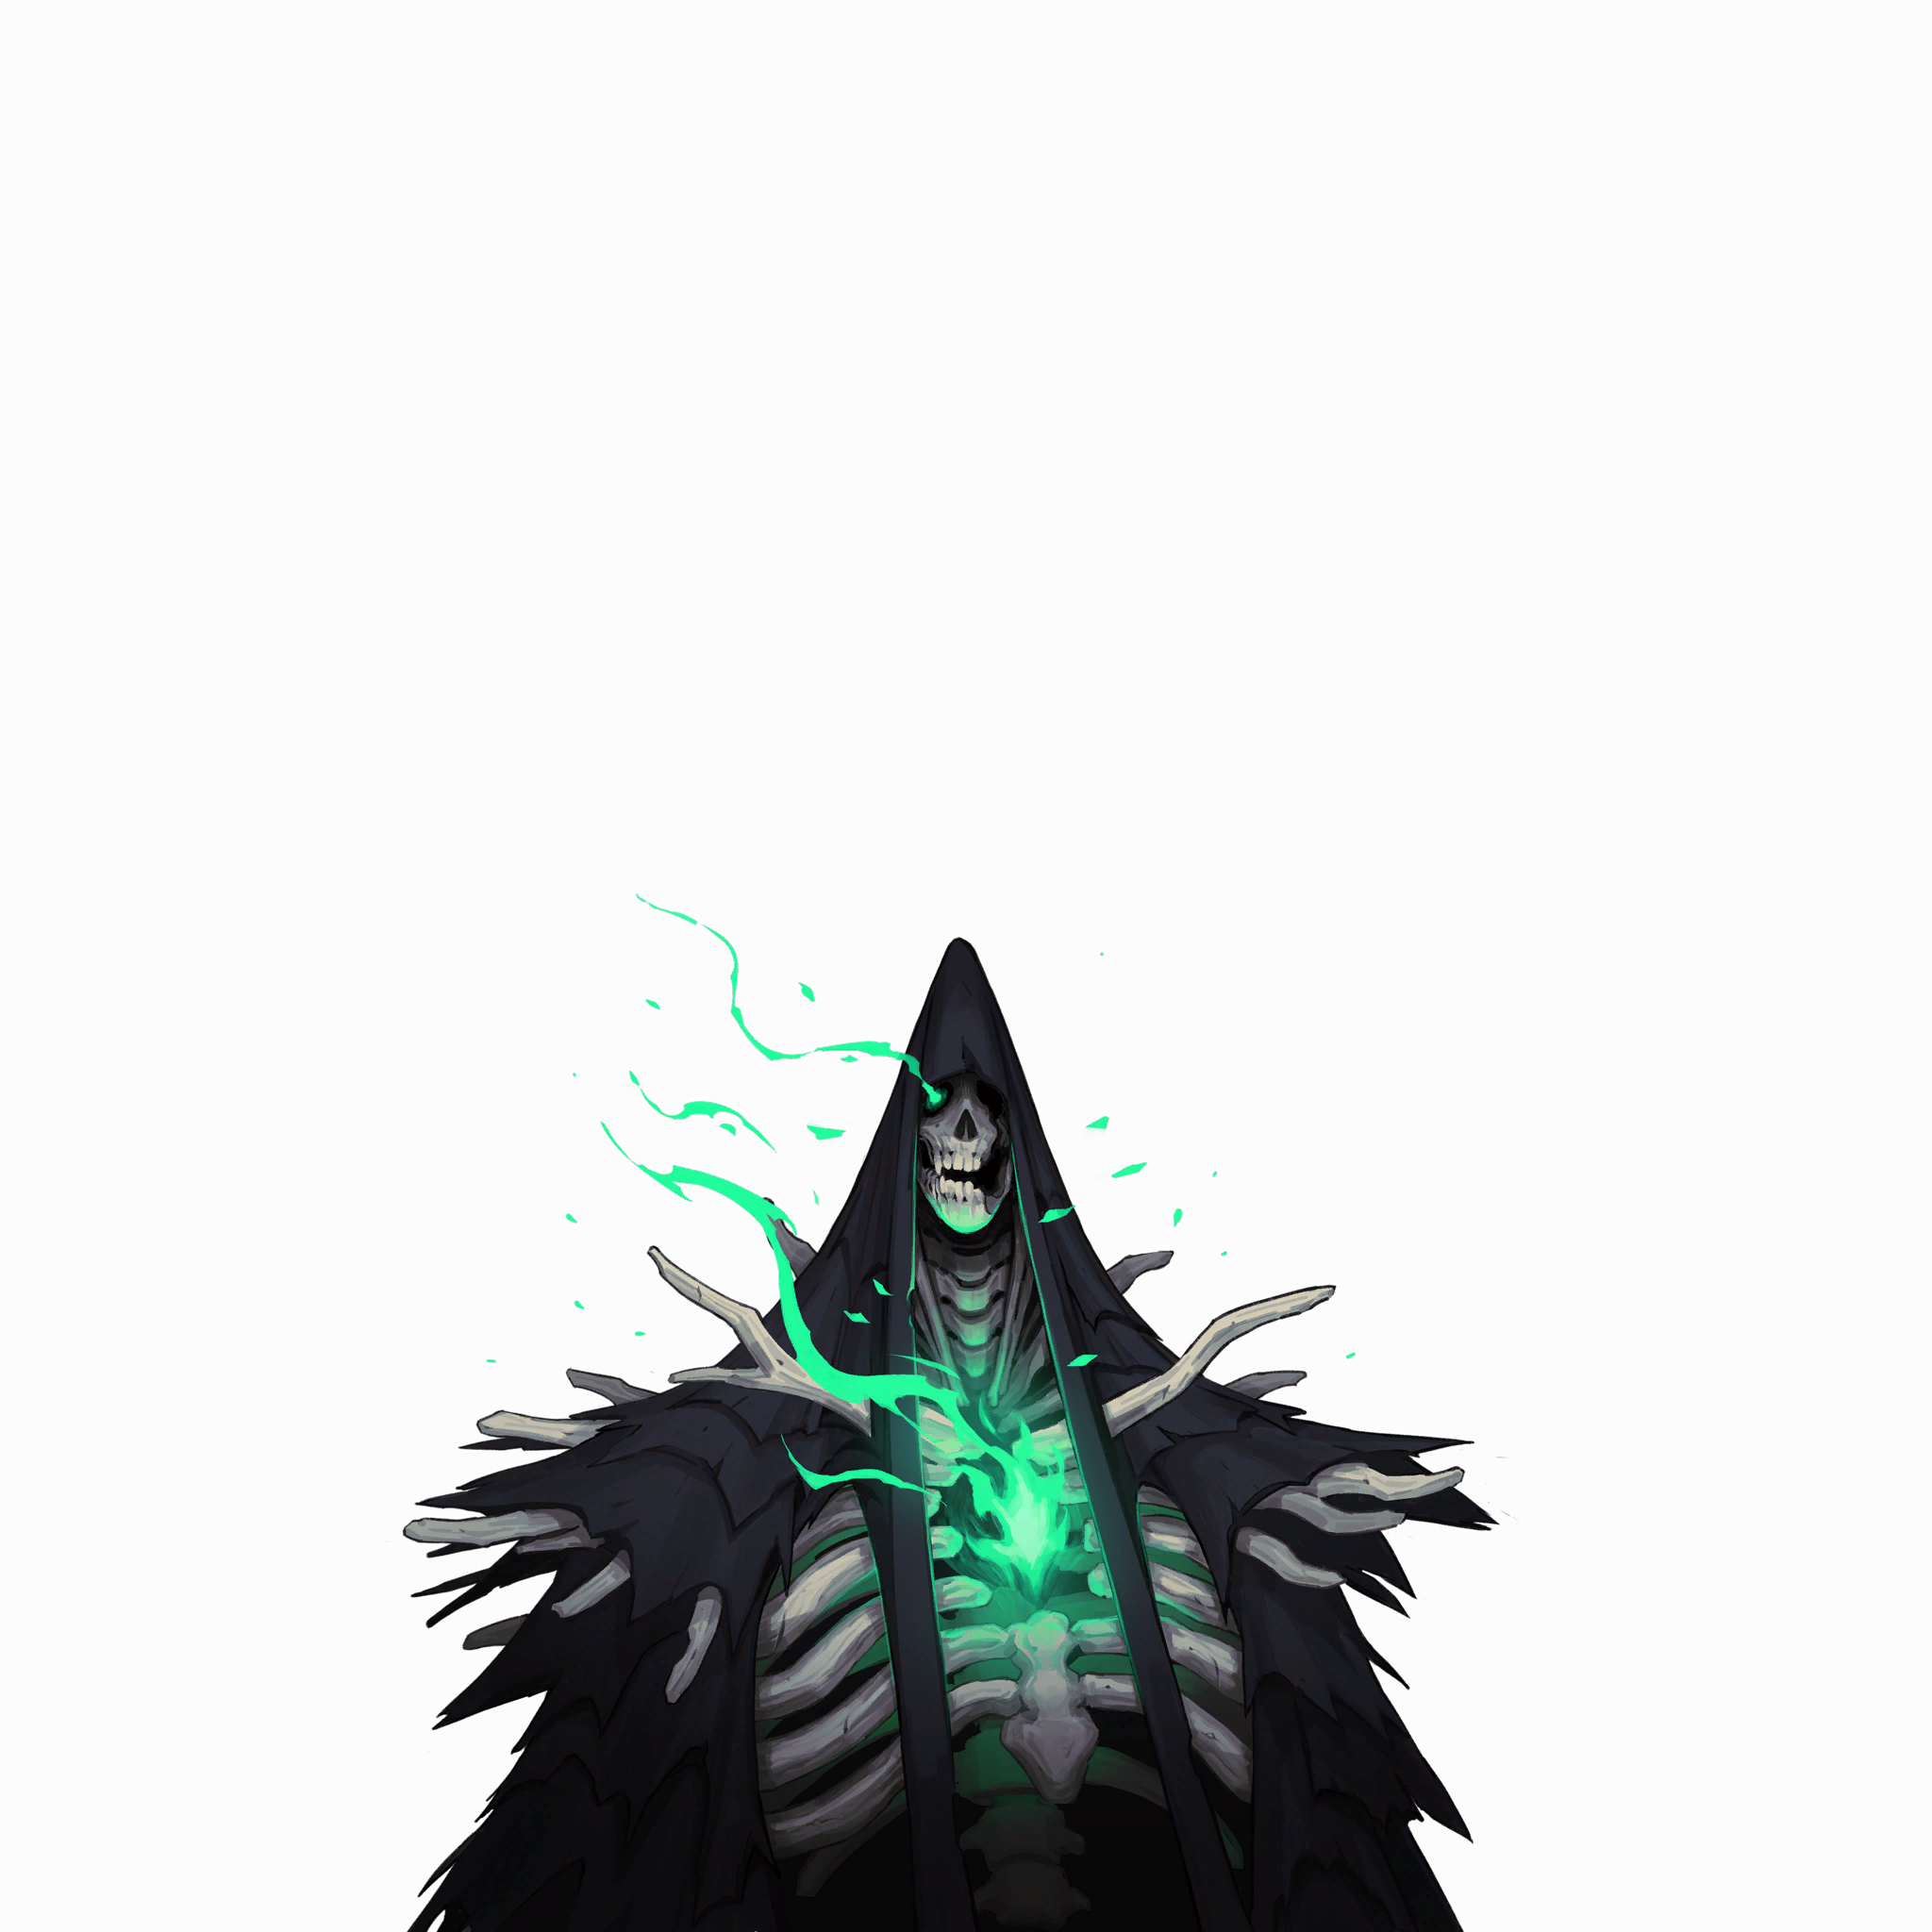 Death (Catacombs encounter)
Watch where it reappears after teleporting, then assess the scythe sweep and approaching attacks; avoid focusing only on its previous position.
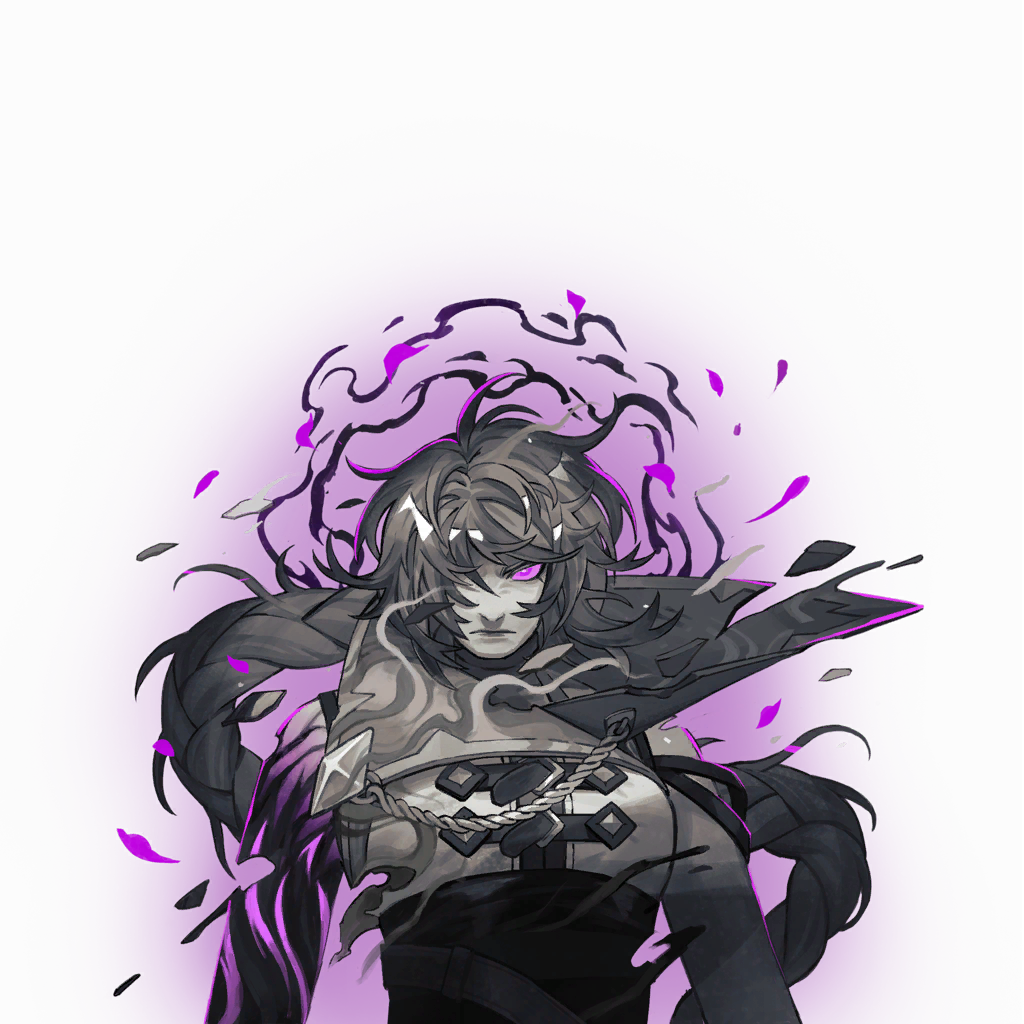 Doppelganger
First identify the current weapon and attack windup. Doppelganger chooses between melee combos, spinning projectiles, whip strikes, shield bashes, and spells; a fixed number of dodges cannot cover every move.
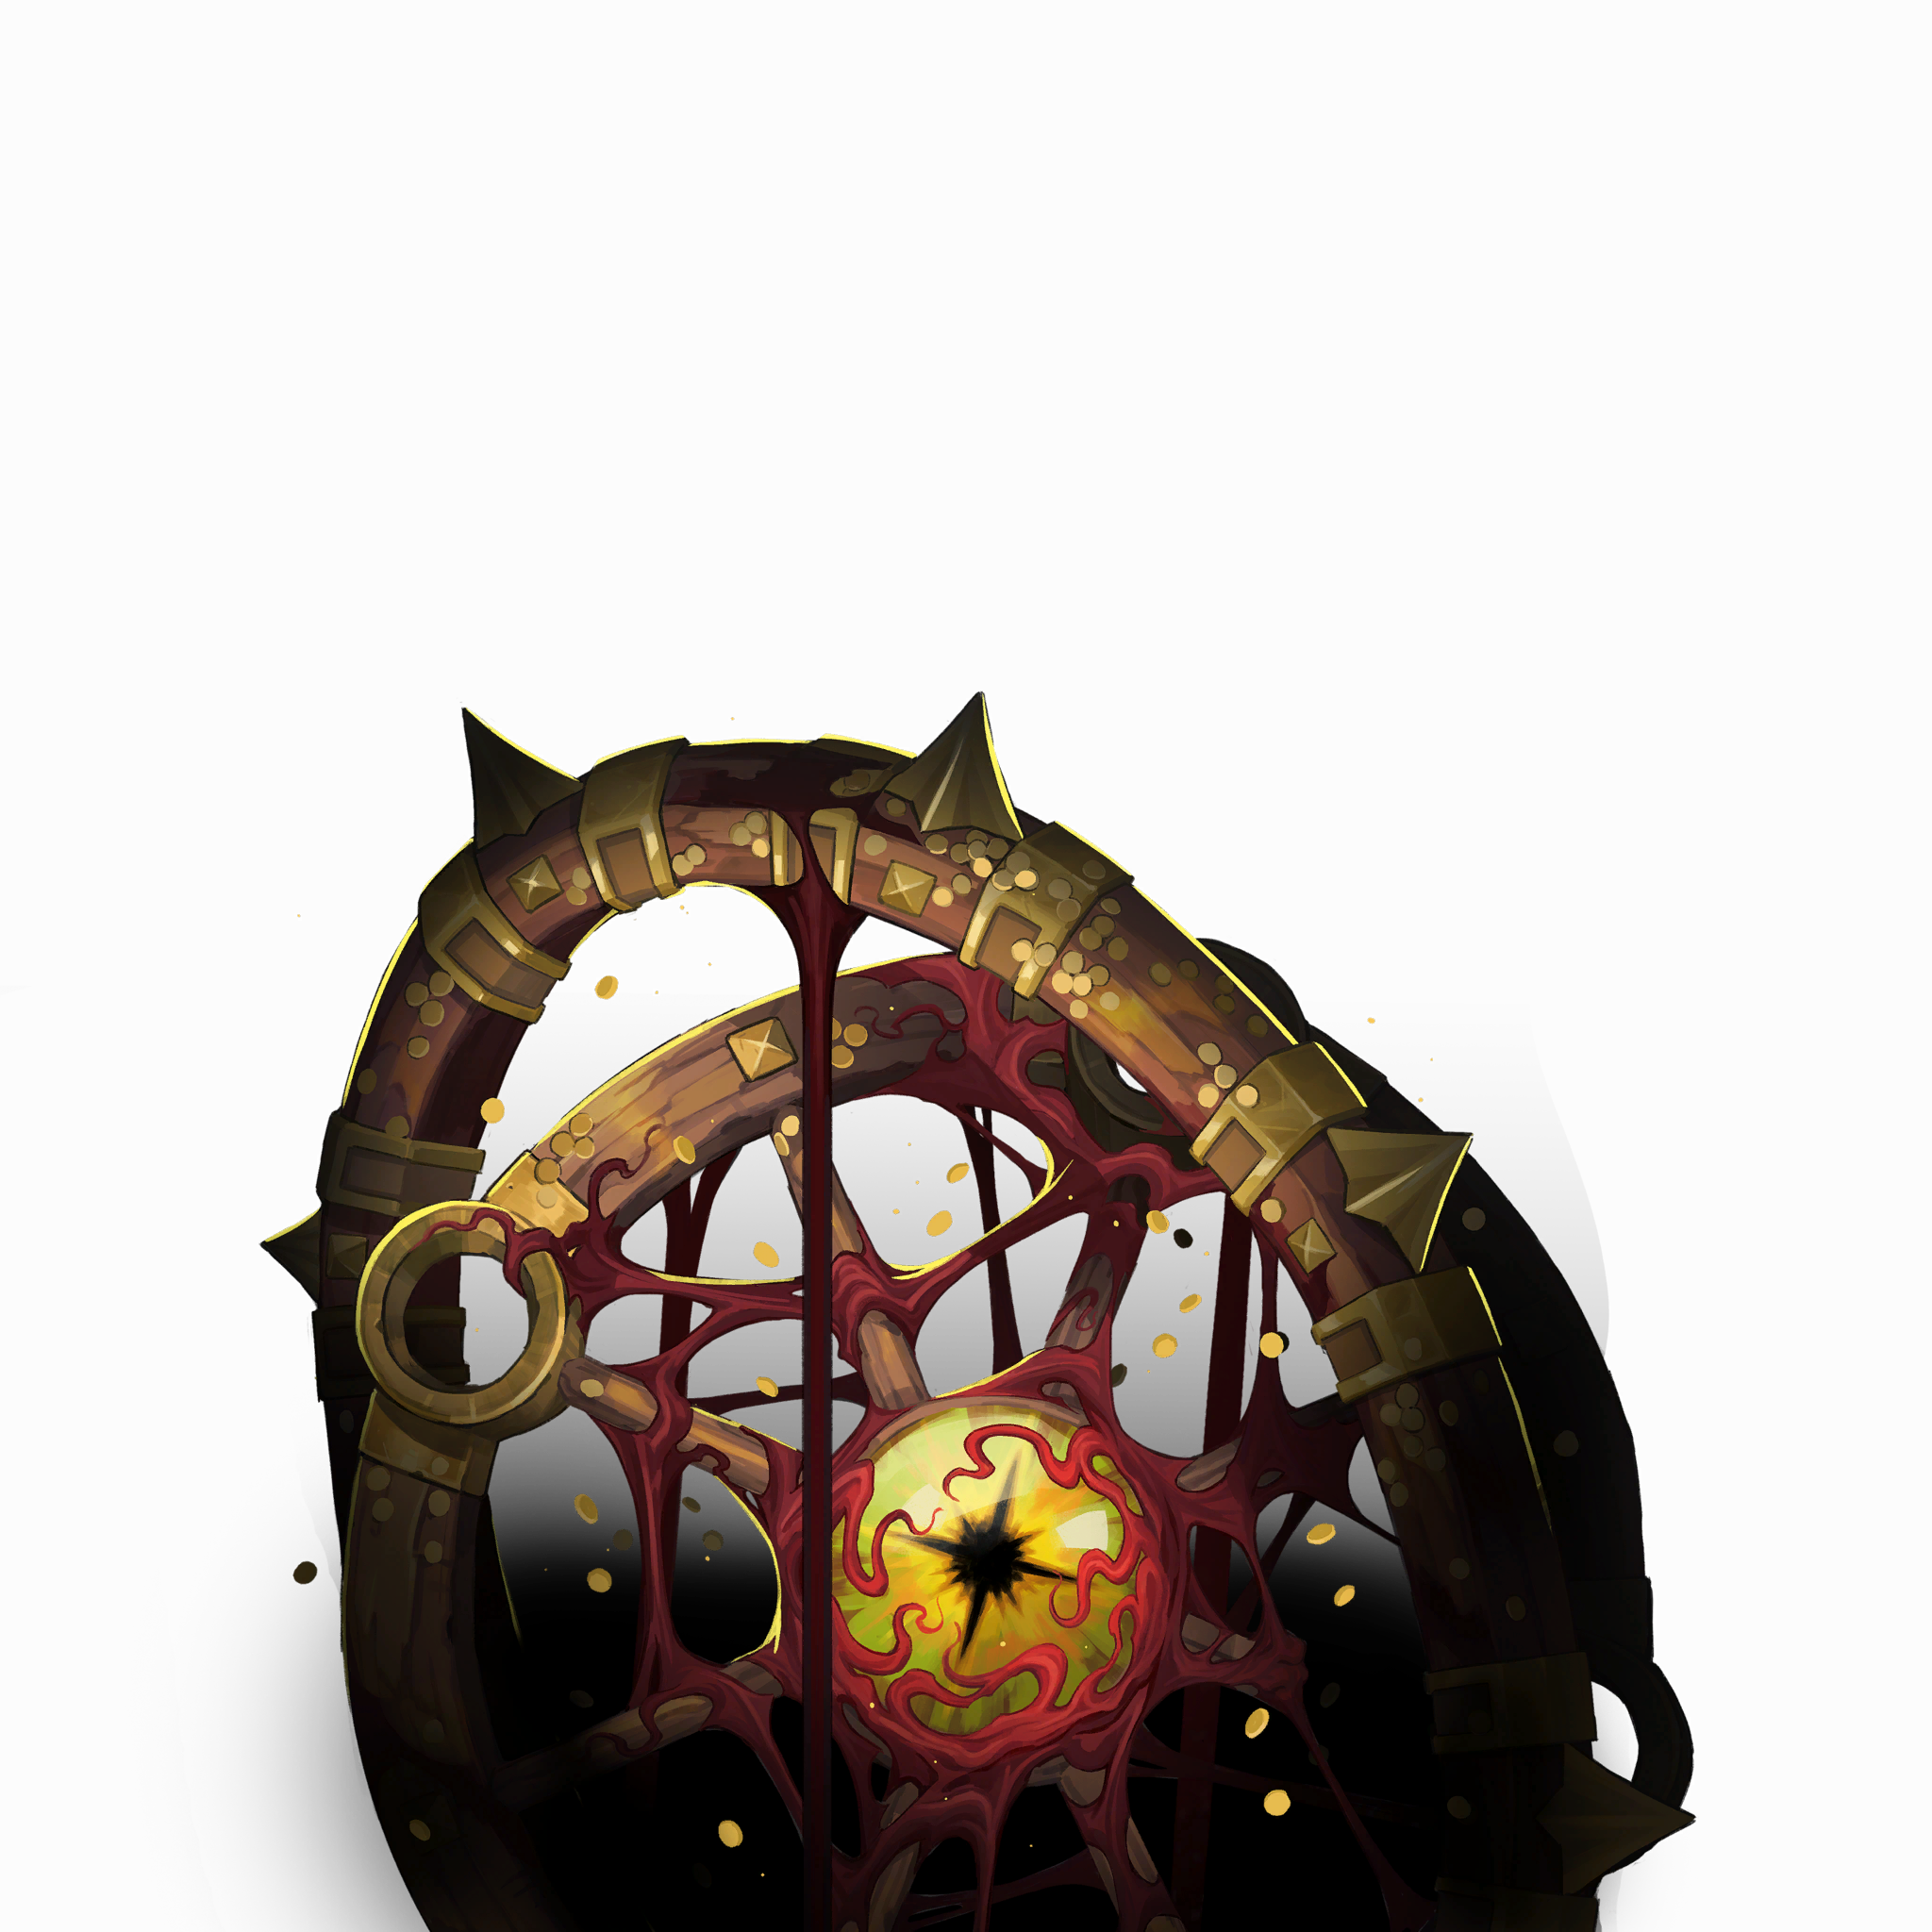 Mammon
First determine whether this round is a directional charge or movement that ricochets around the arena. Move out of its current path; do not chase it with attacks in corners during the ricochet phase.
Joan (Trial of Courage)The rematch retains the jump slam, fireballs, fire pillars, and empowered low attacks, and adds a spinning opener. Avoid the landing point and flames first, then attack during the opening after the combo ends.
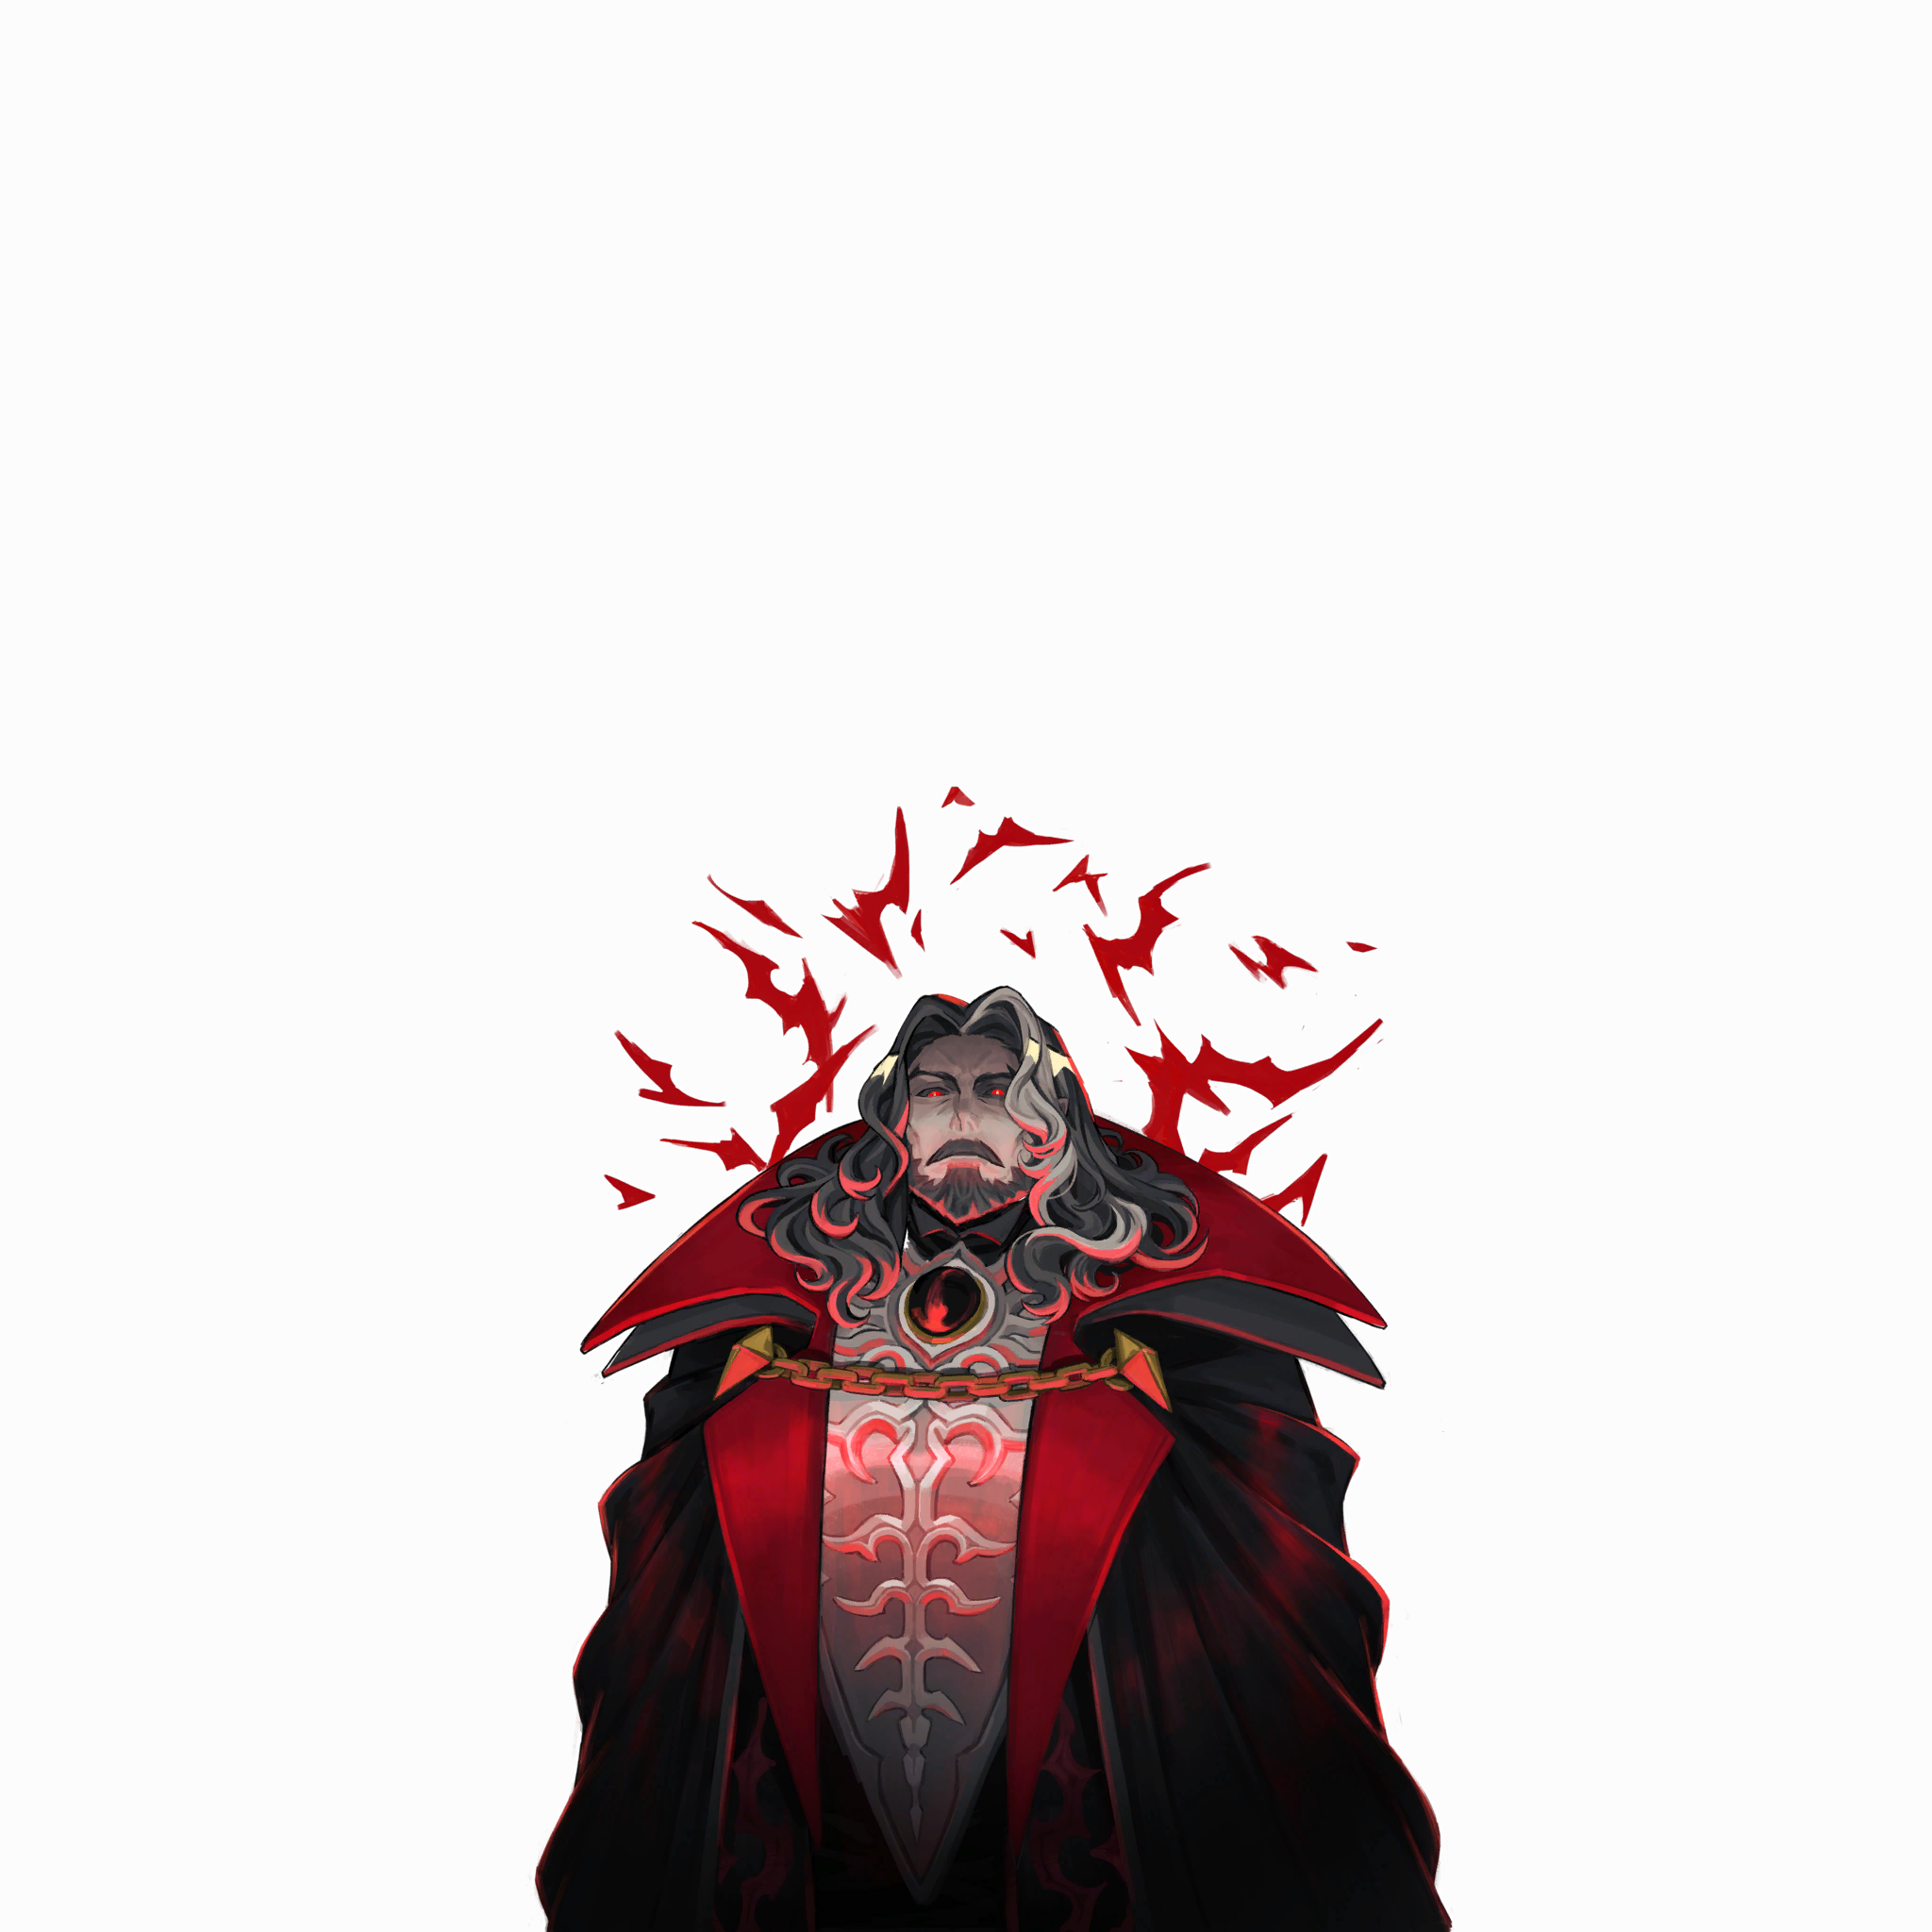 Dracula
Dodge the entire melee combo, then counter briefly during the recovery. When Dracula teleports behind you, recheck his position and your facing direction so you do not keep attacking empty space.
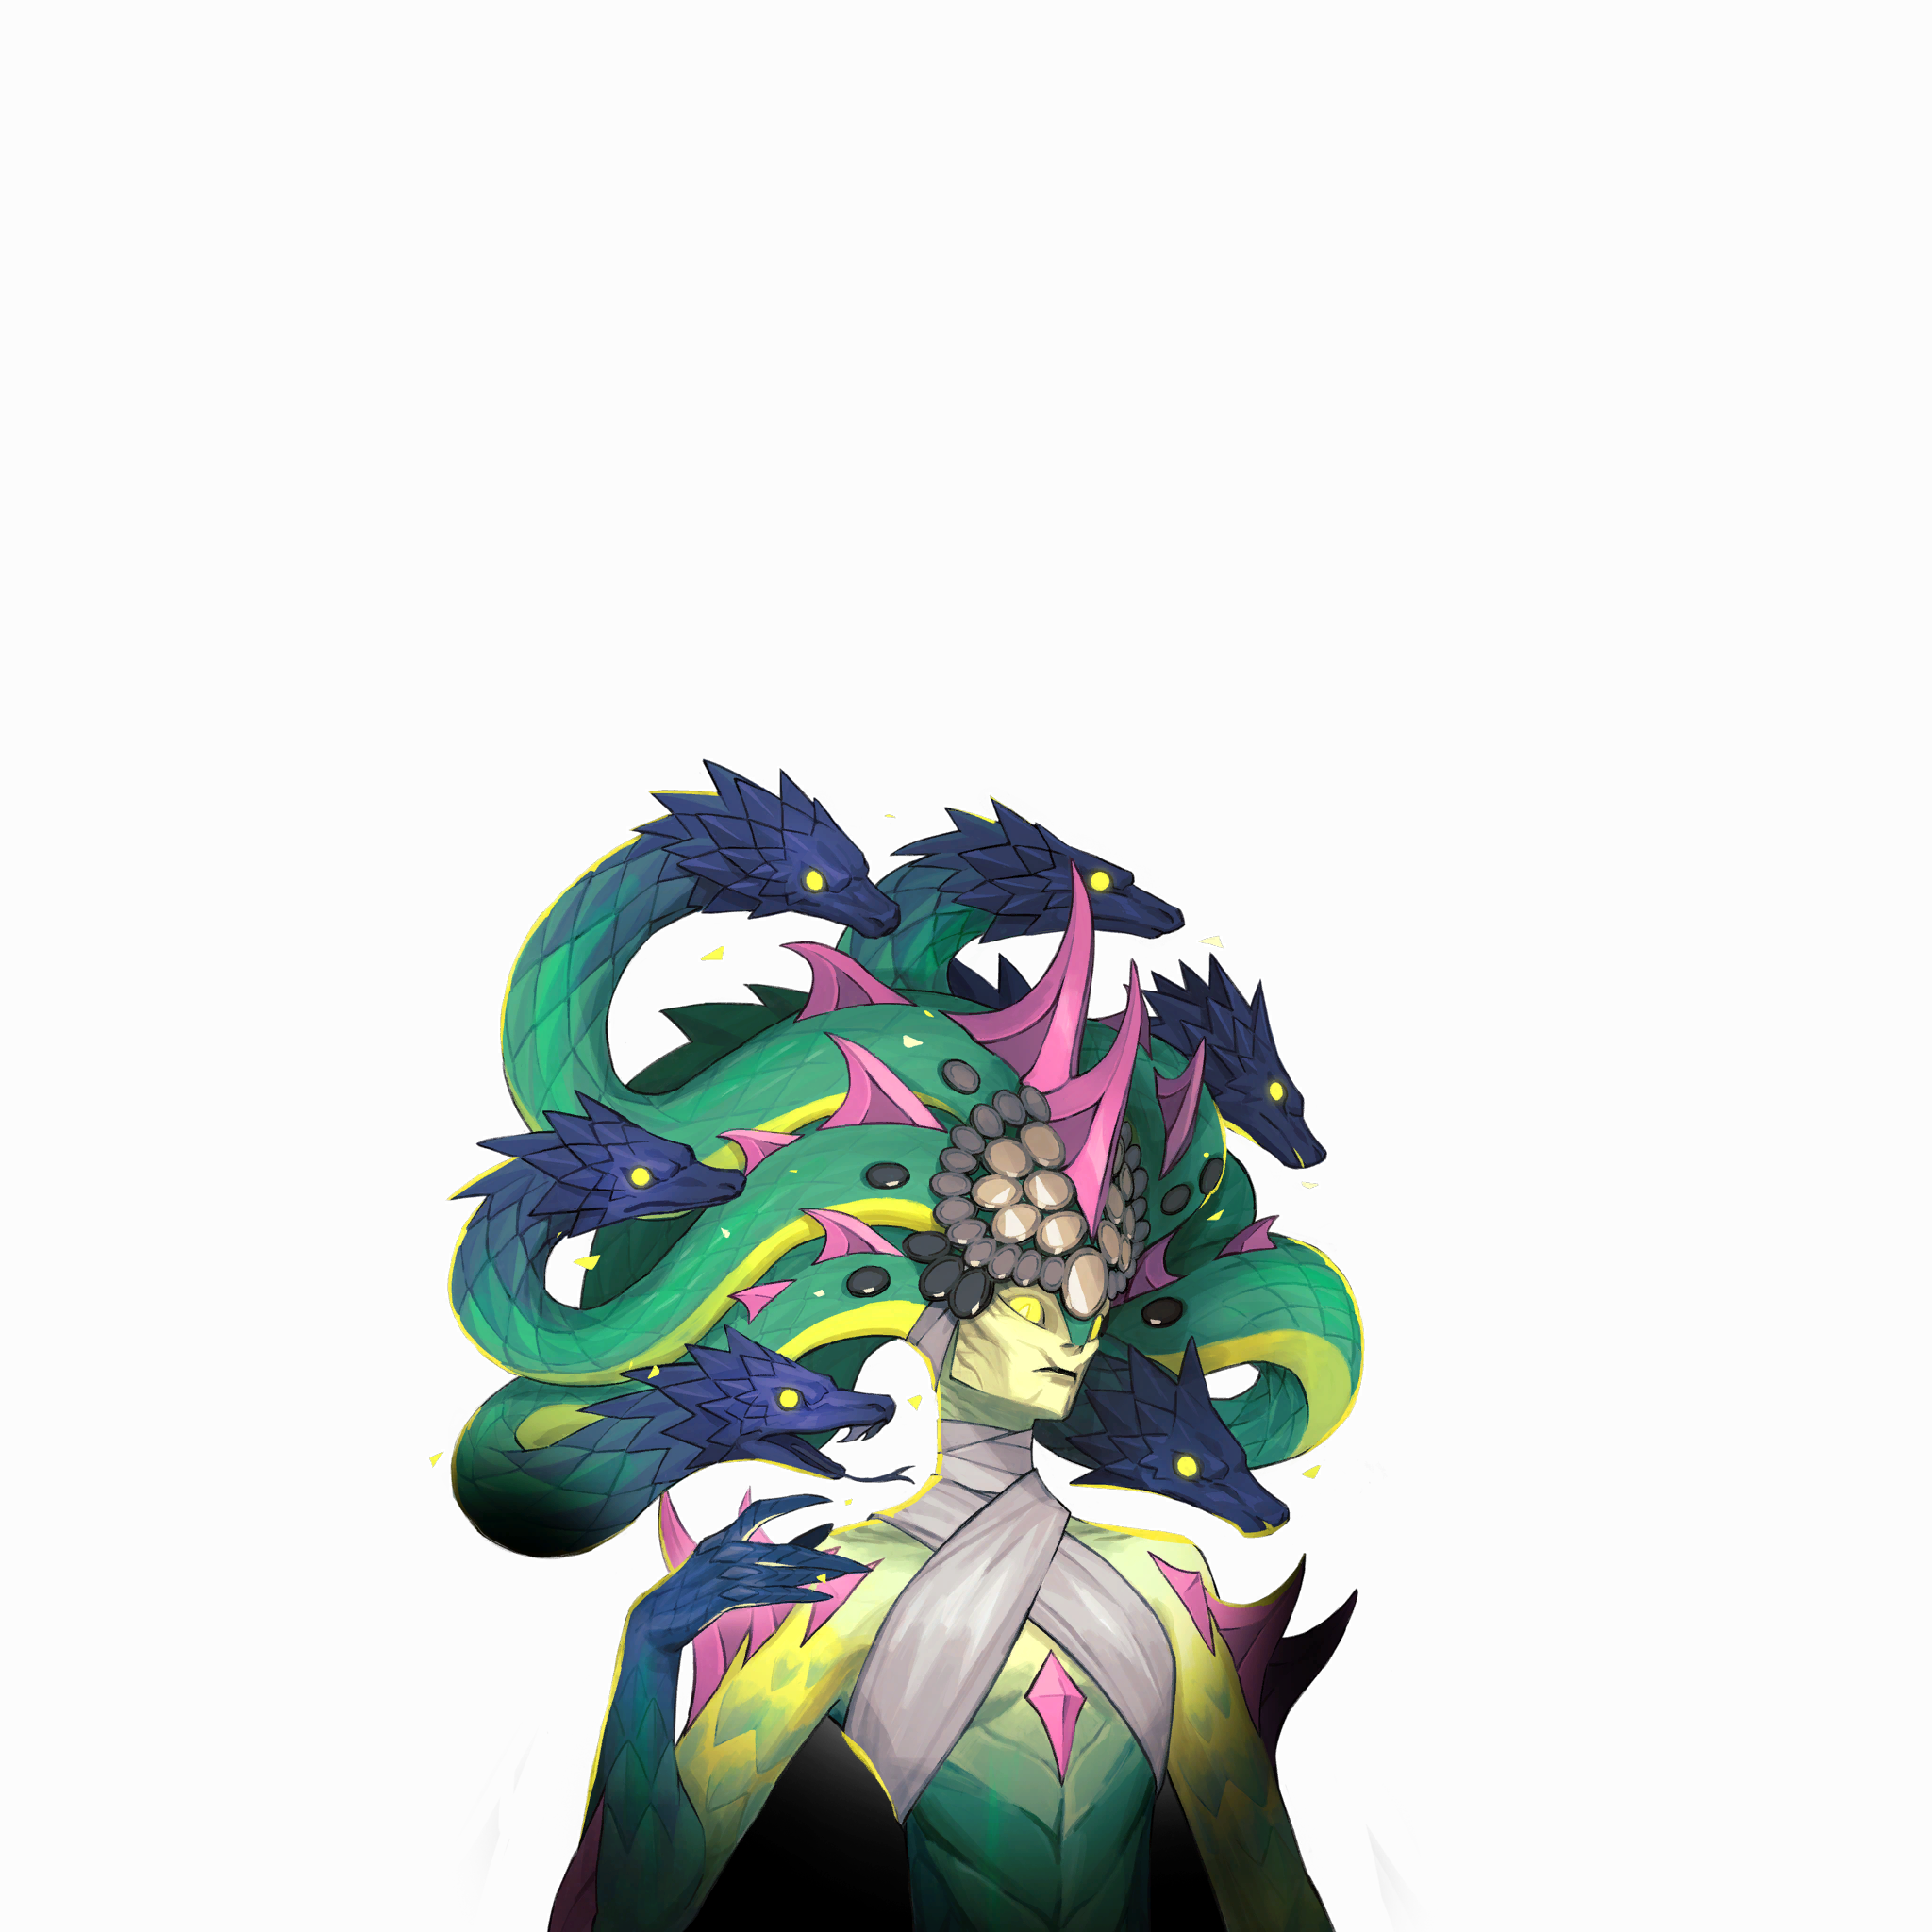 Medusa
When Petrifying Gaze starts, stop attacking and turn your back to Medusa; wait until the gaze ends before turning back to counterattack. Normal dodges and parries cannot negate this petrification check.
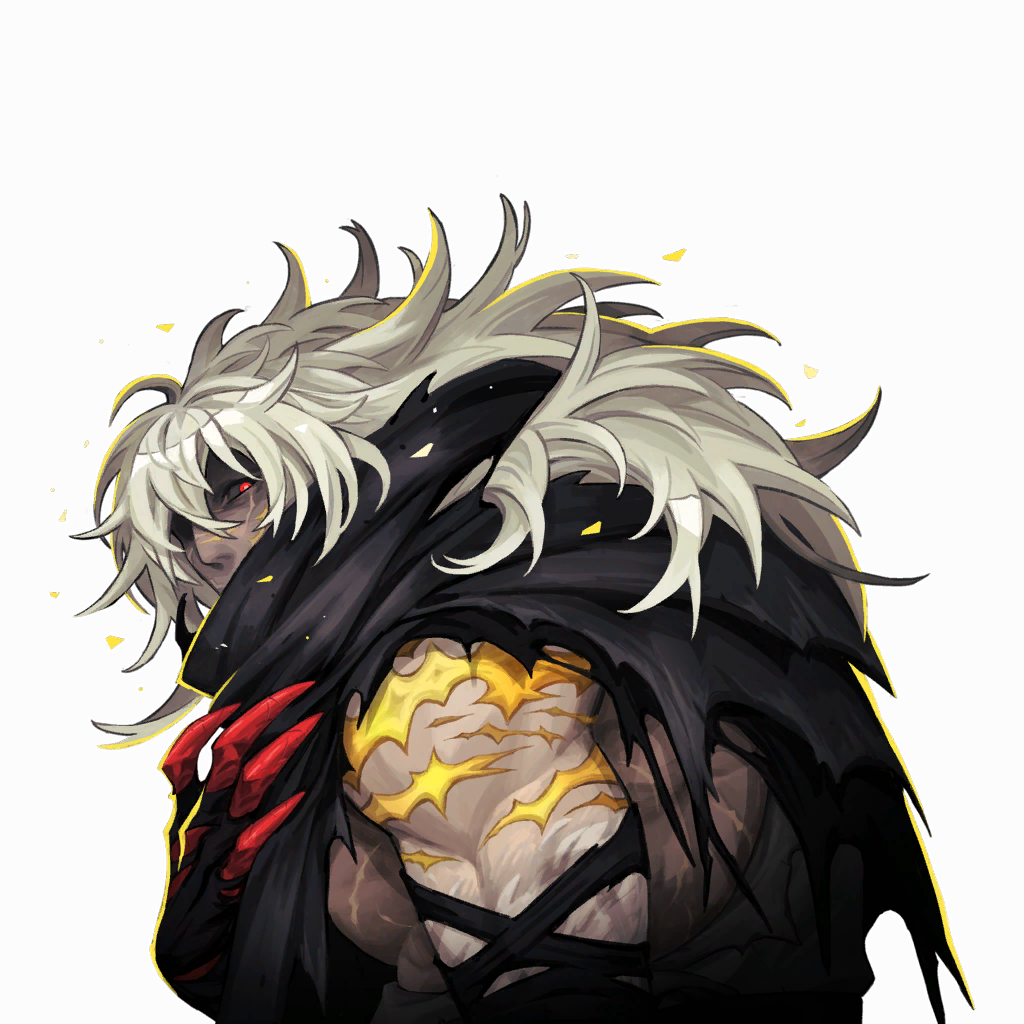 Leon
Keep enough distance to read the wind-up. If you remain in front after the second claw swipe, a third follows; moving behind him may trigger a turning attack instead. Dodge that final strike, then attack briefly during the recovery.
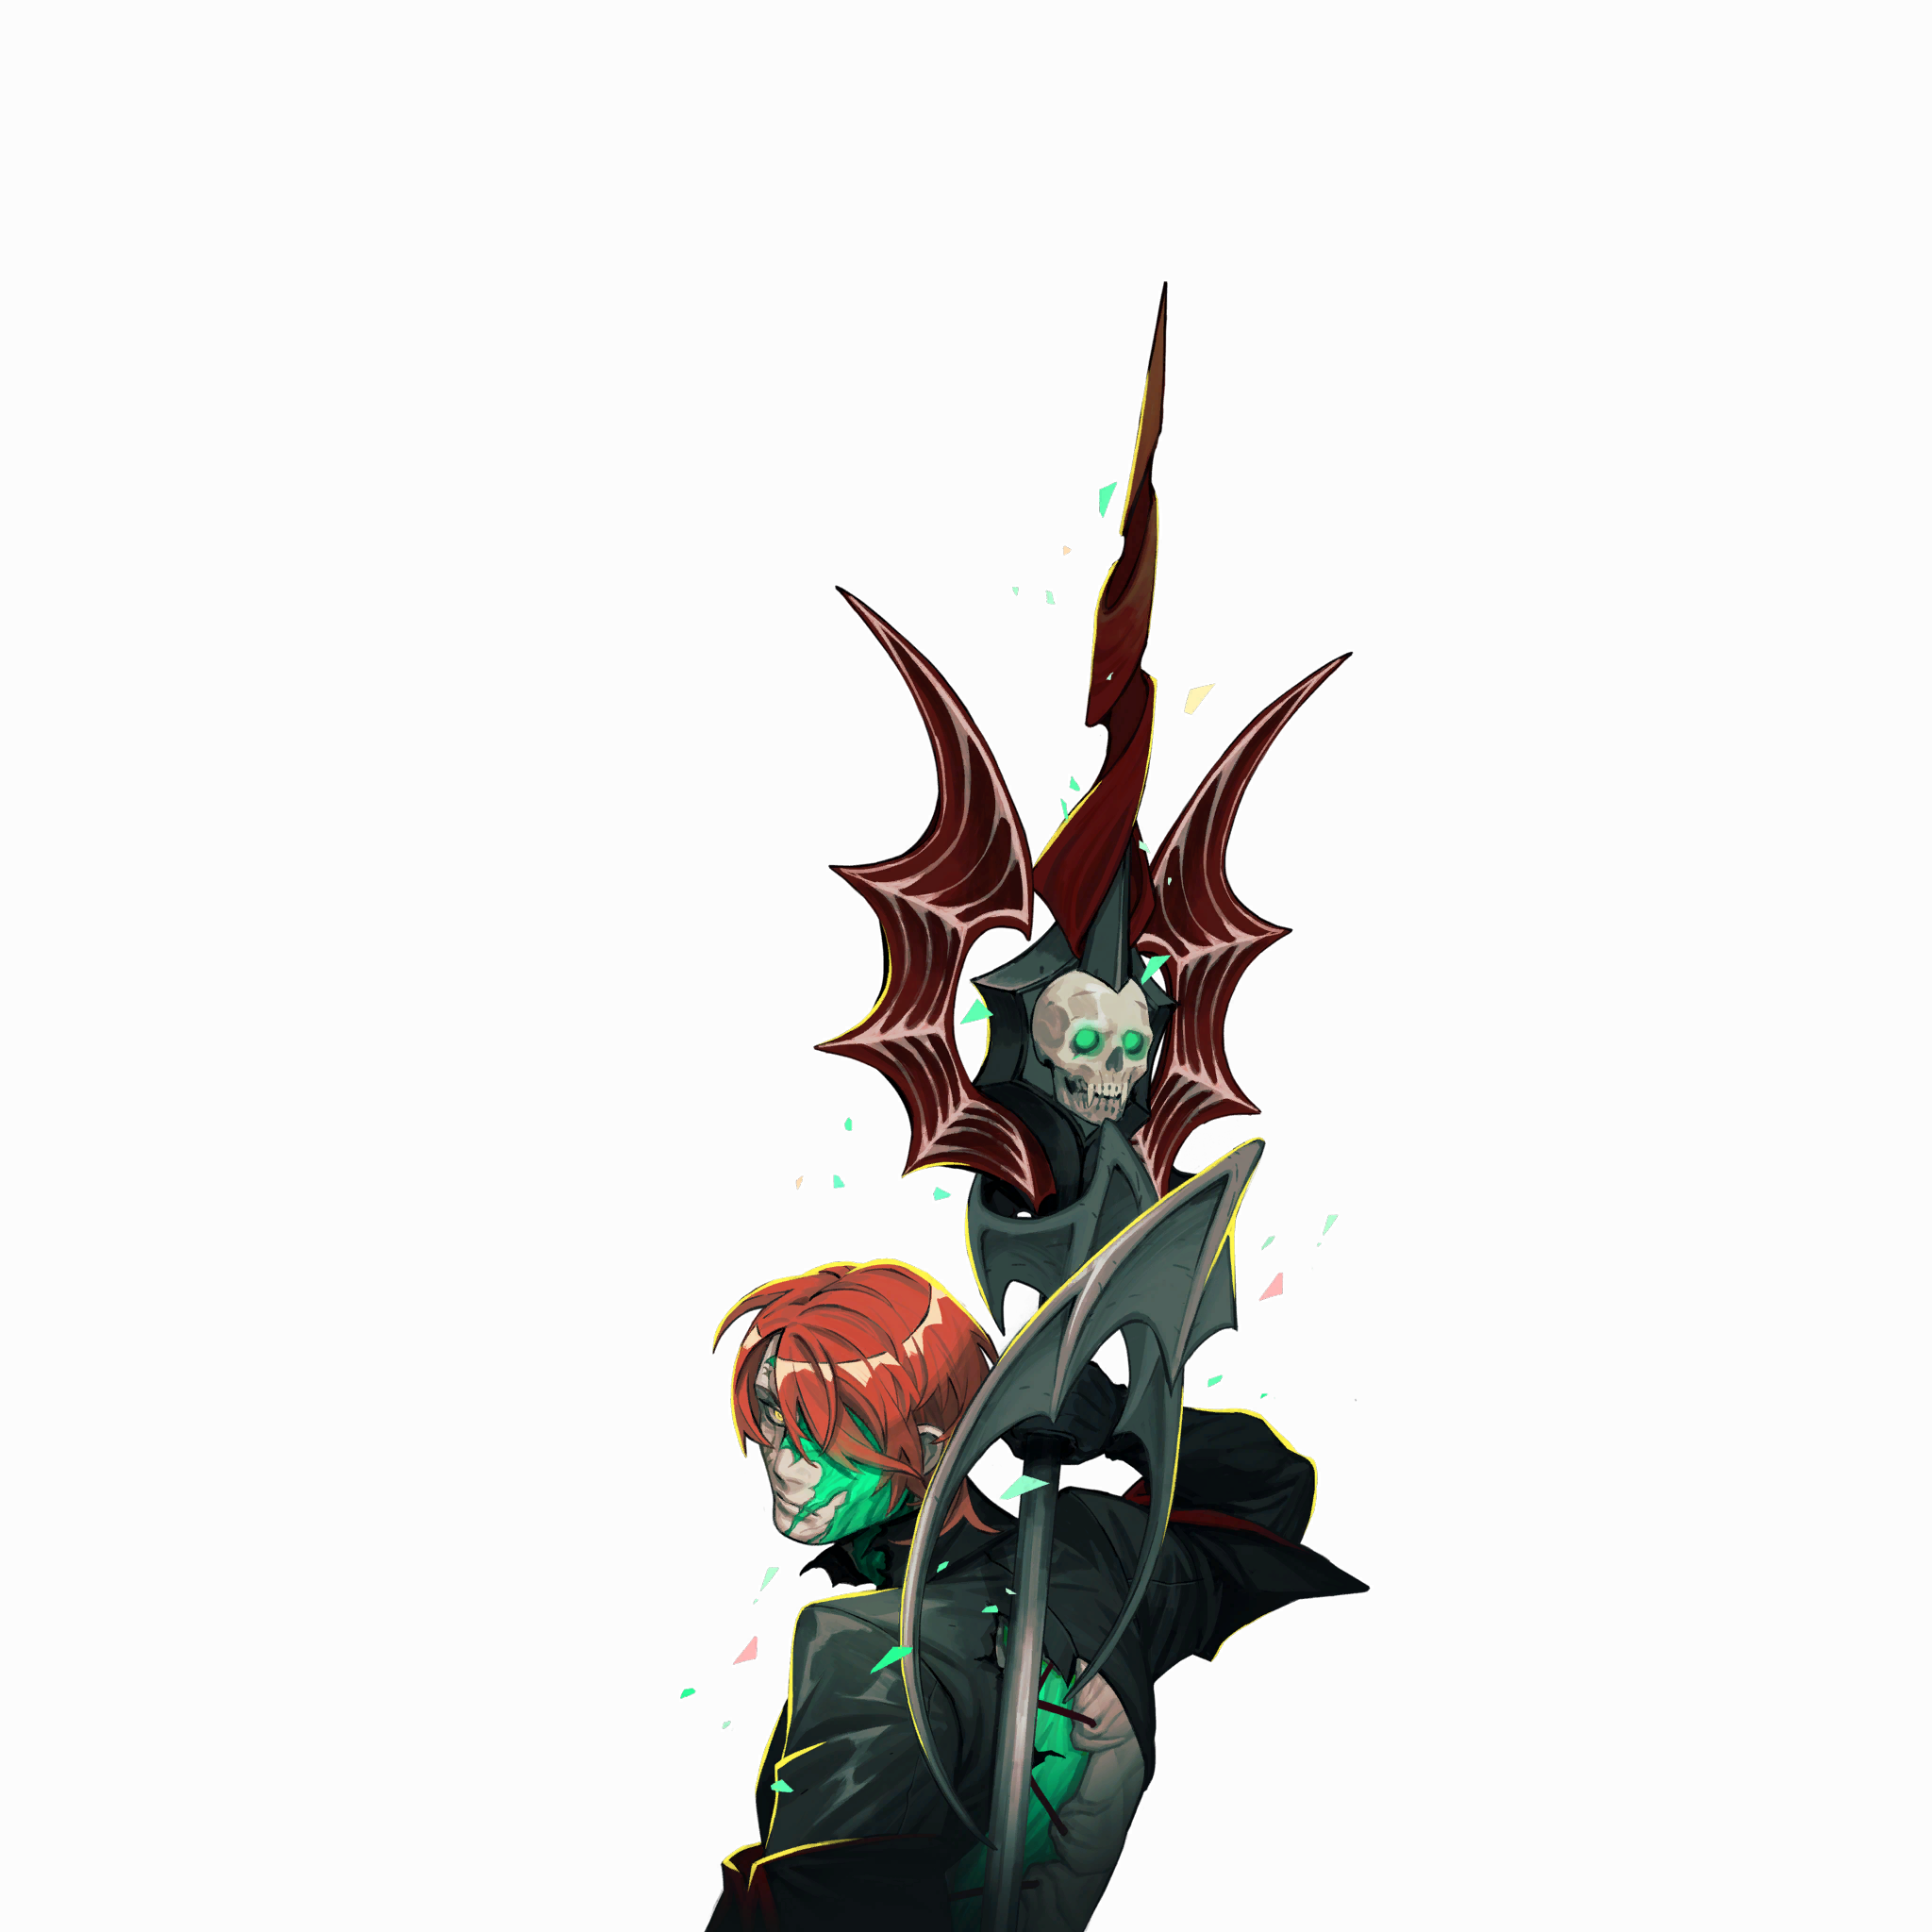 Isaac
After Isaac teleports, first check which directions the real body and afterimage appear from, then handle the spear’s high and low attacks. Don’t repeatedly dodge in the same direction.
 Carmilla
When blood spikes and blood pillars appear, look at the ground first; leave the spot about to be hit before attacking. Reassess the main body’s position when it submerges or emerges.
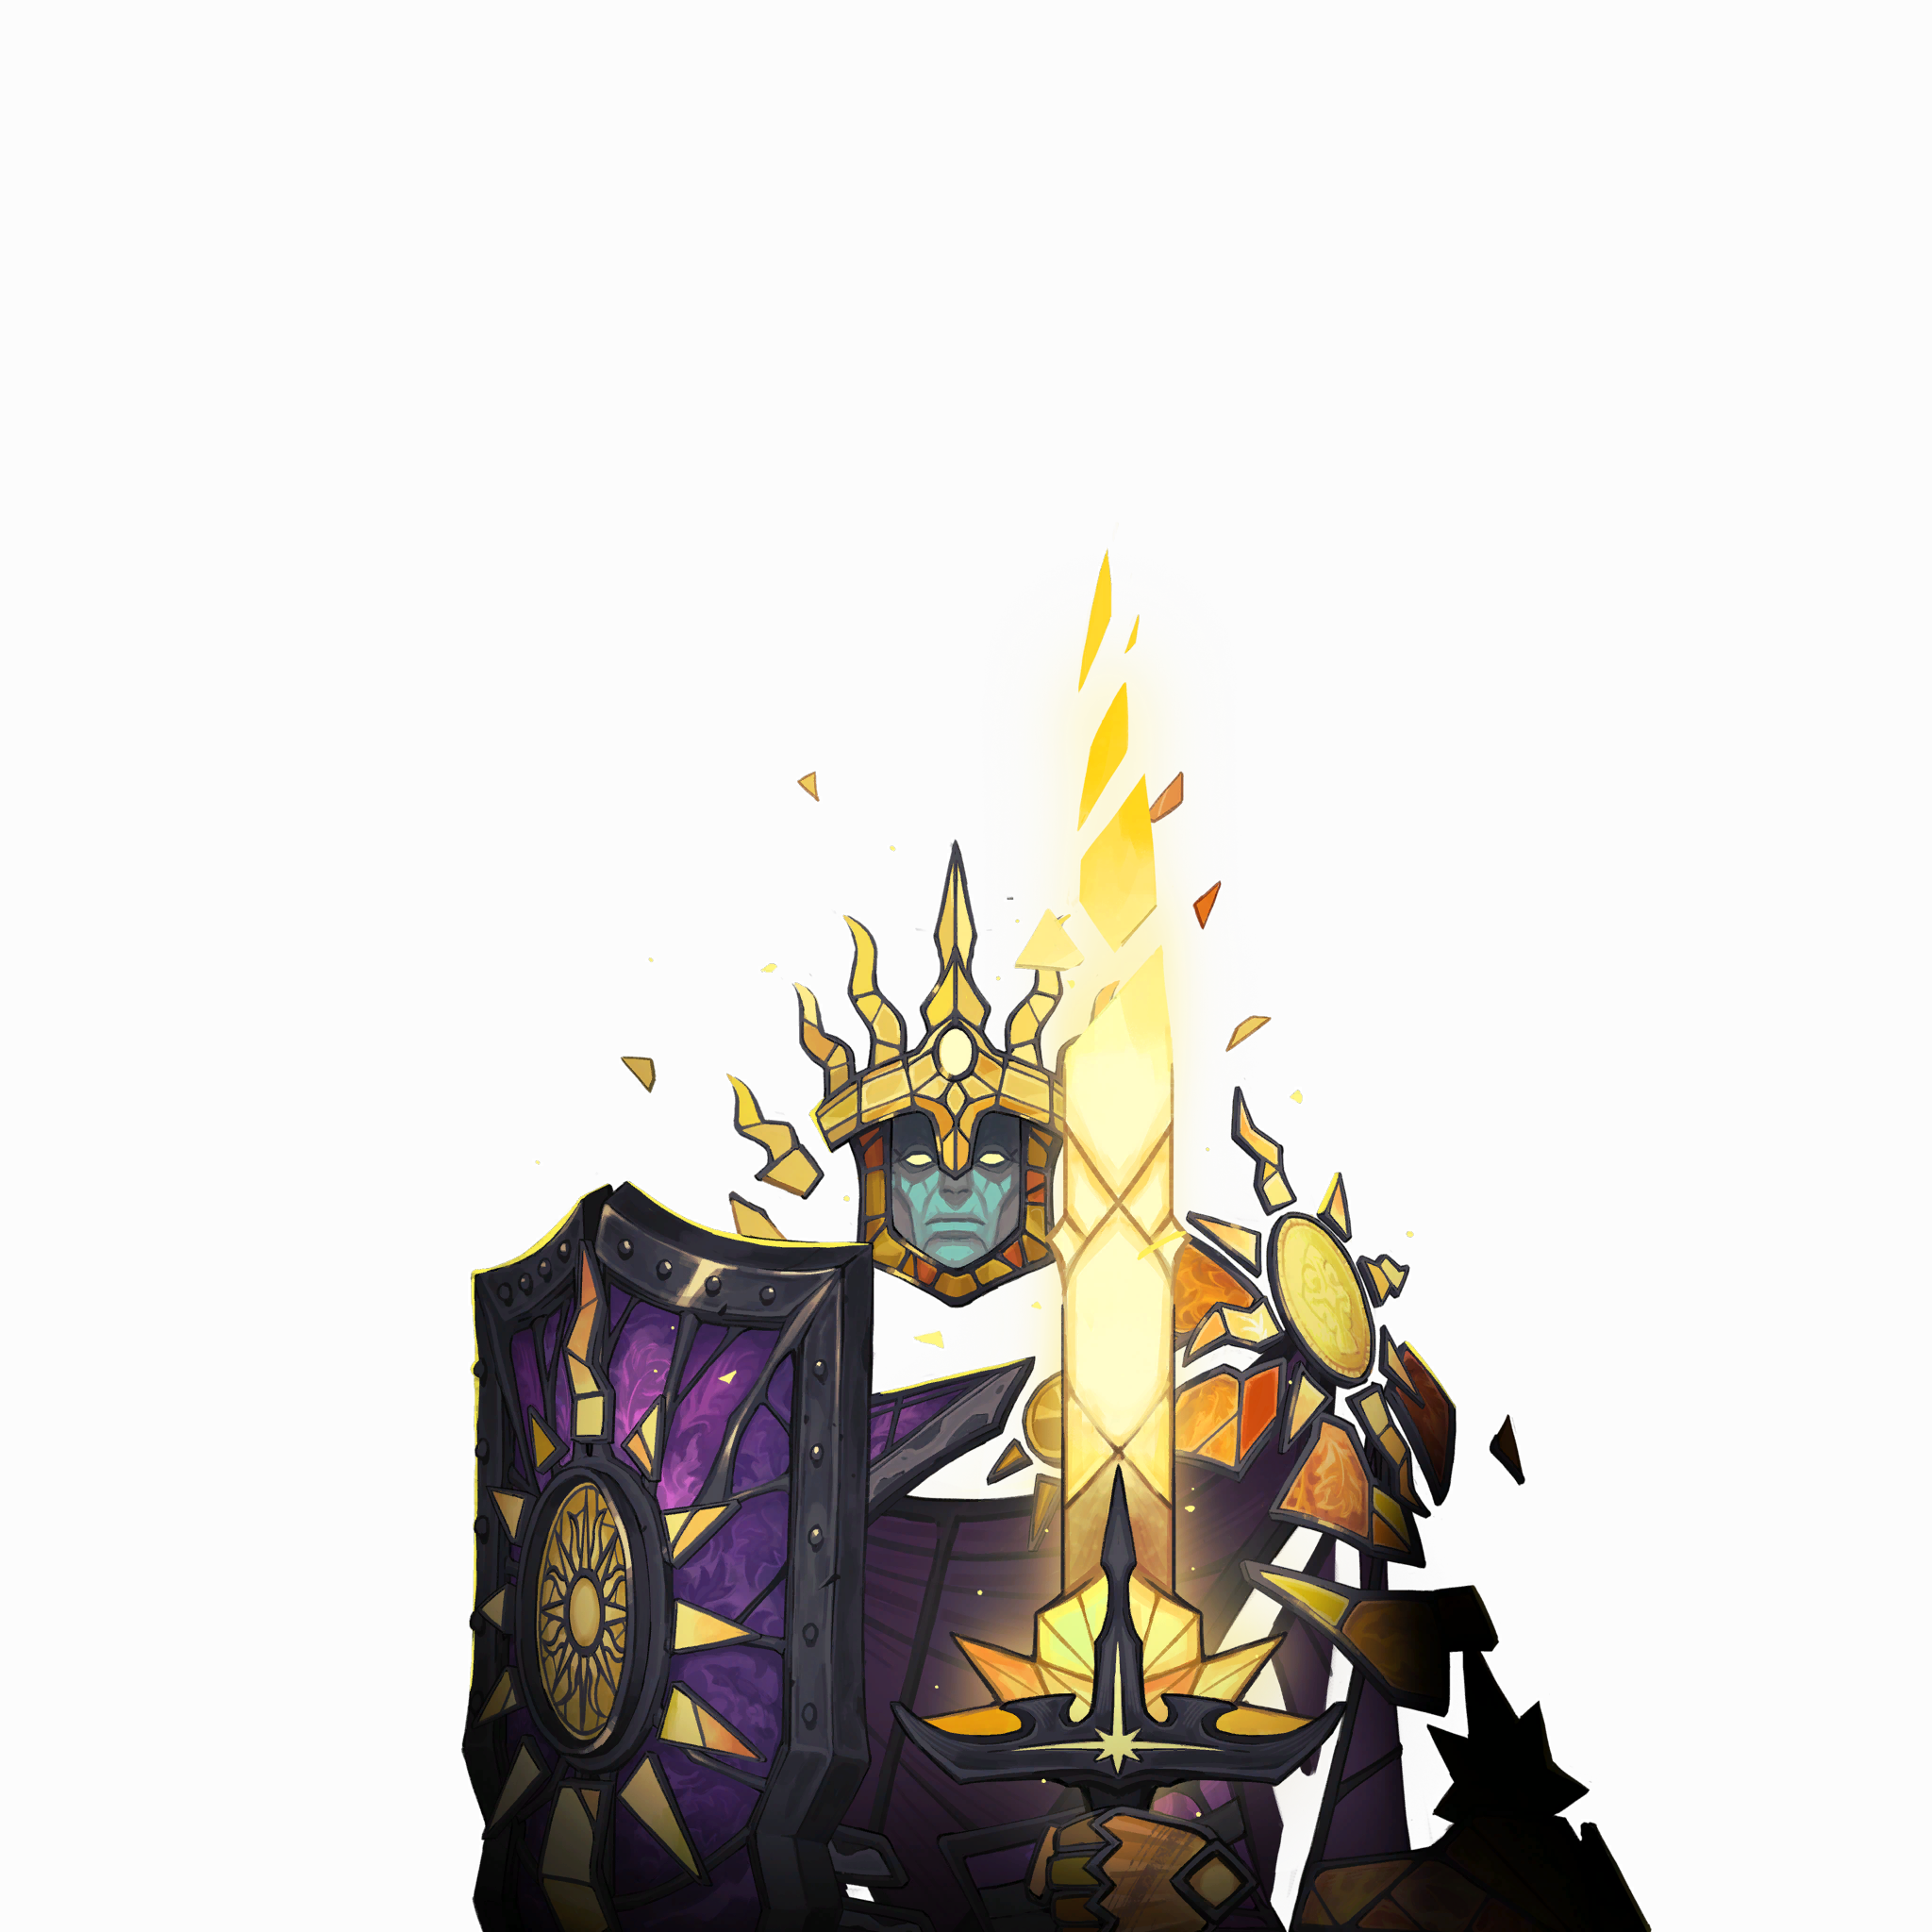 Arthur
First observe the shield-raising and shield-lowering motions. Lowering the shield may be a calm withdrawal, or it may lead into a shield slam; wait until the slam ends before approaching; don’t rush to attack as soon as the shield lowers.
DeathAfter the teleport, locate the body and scythe first; both sweeps and scythe combos may pursue you with repeated follow-ups. Wait until the attack chain ends before approaching; do not stay planted for long after the first missed swing.