
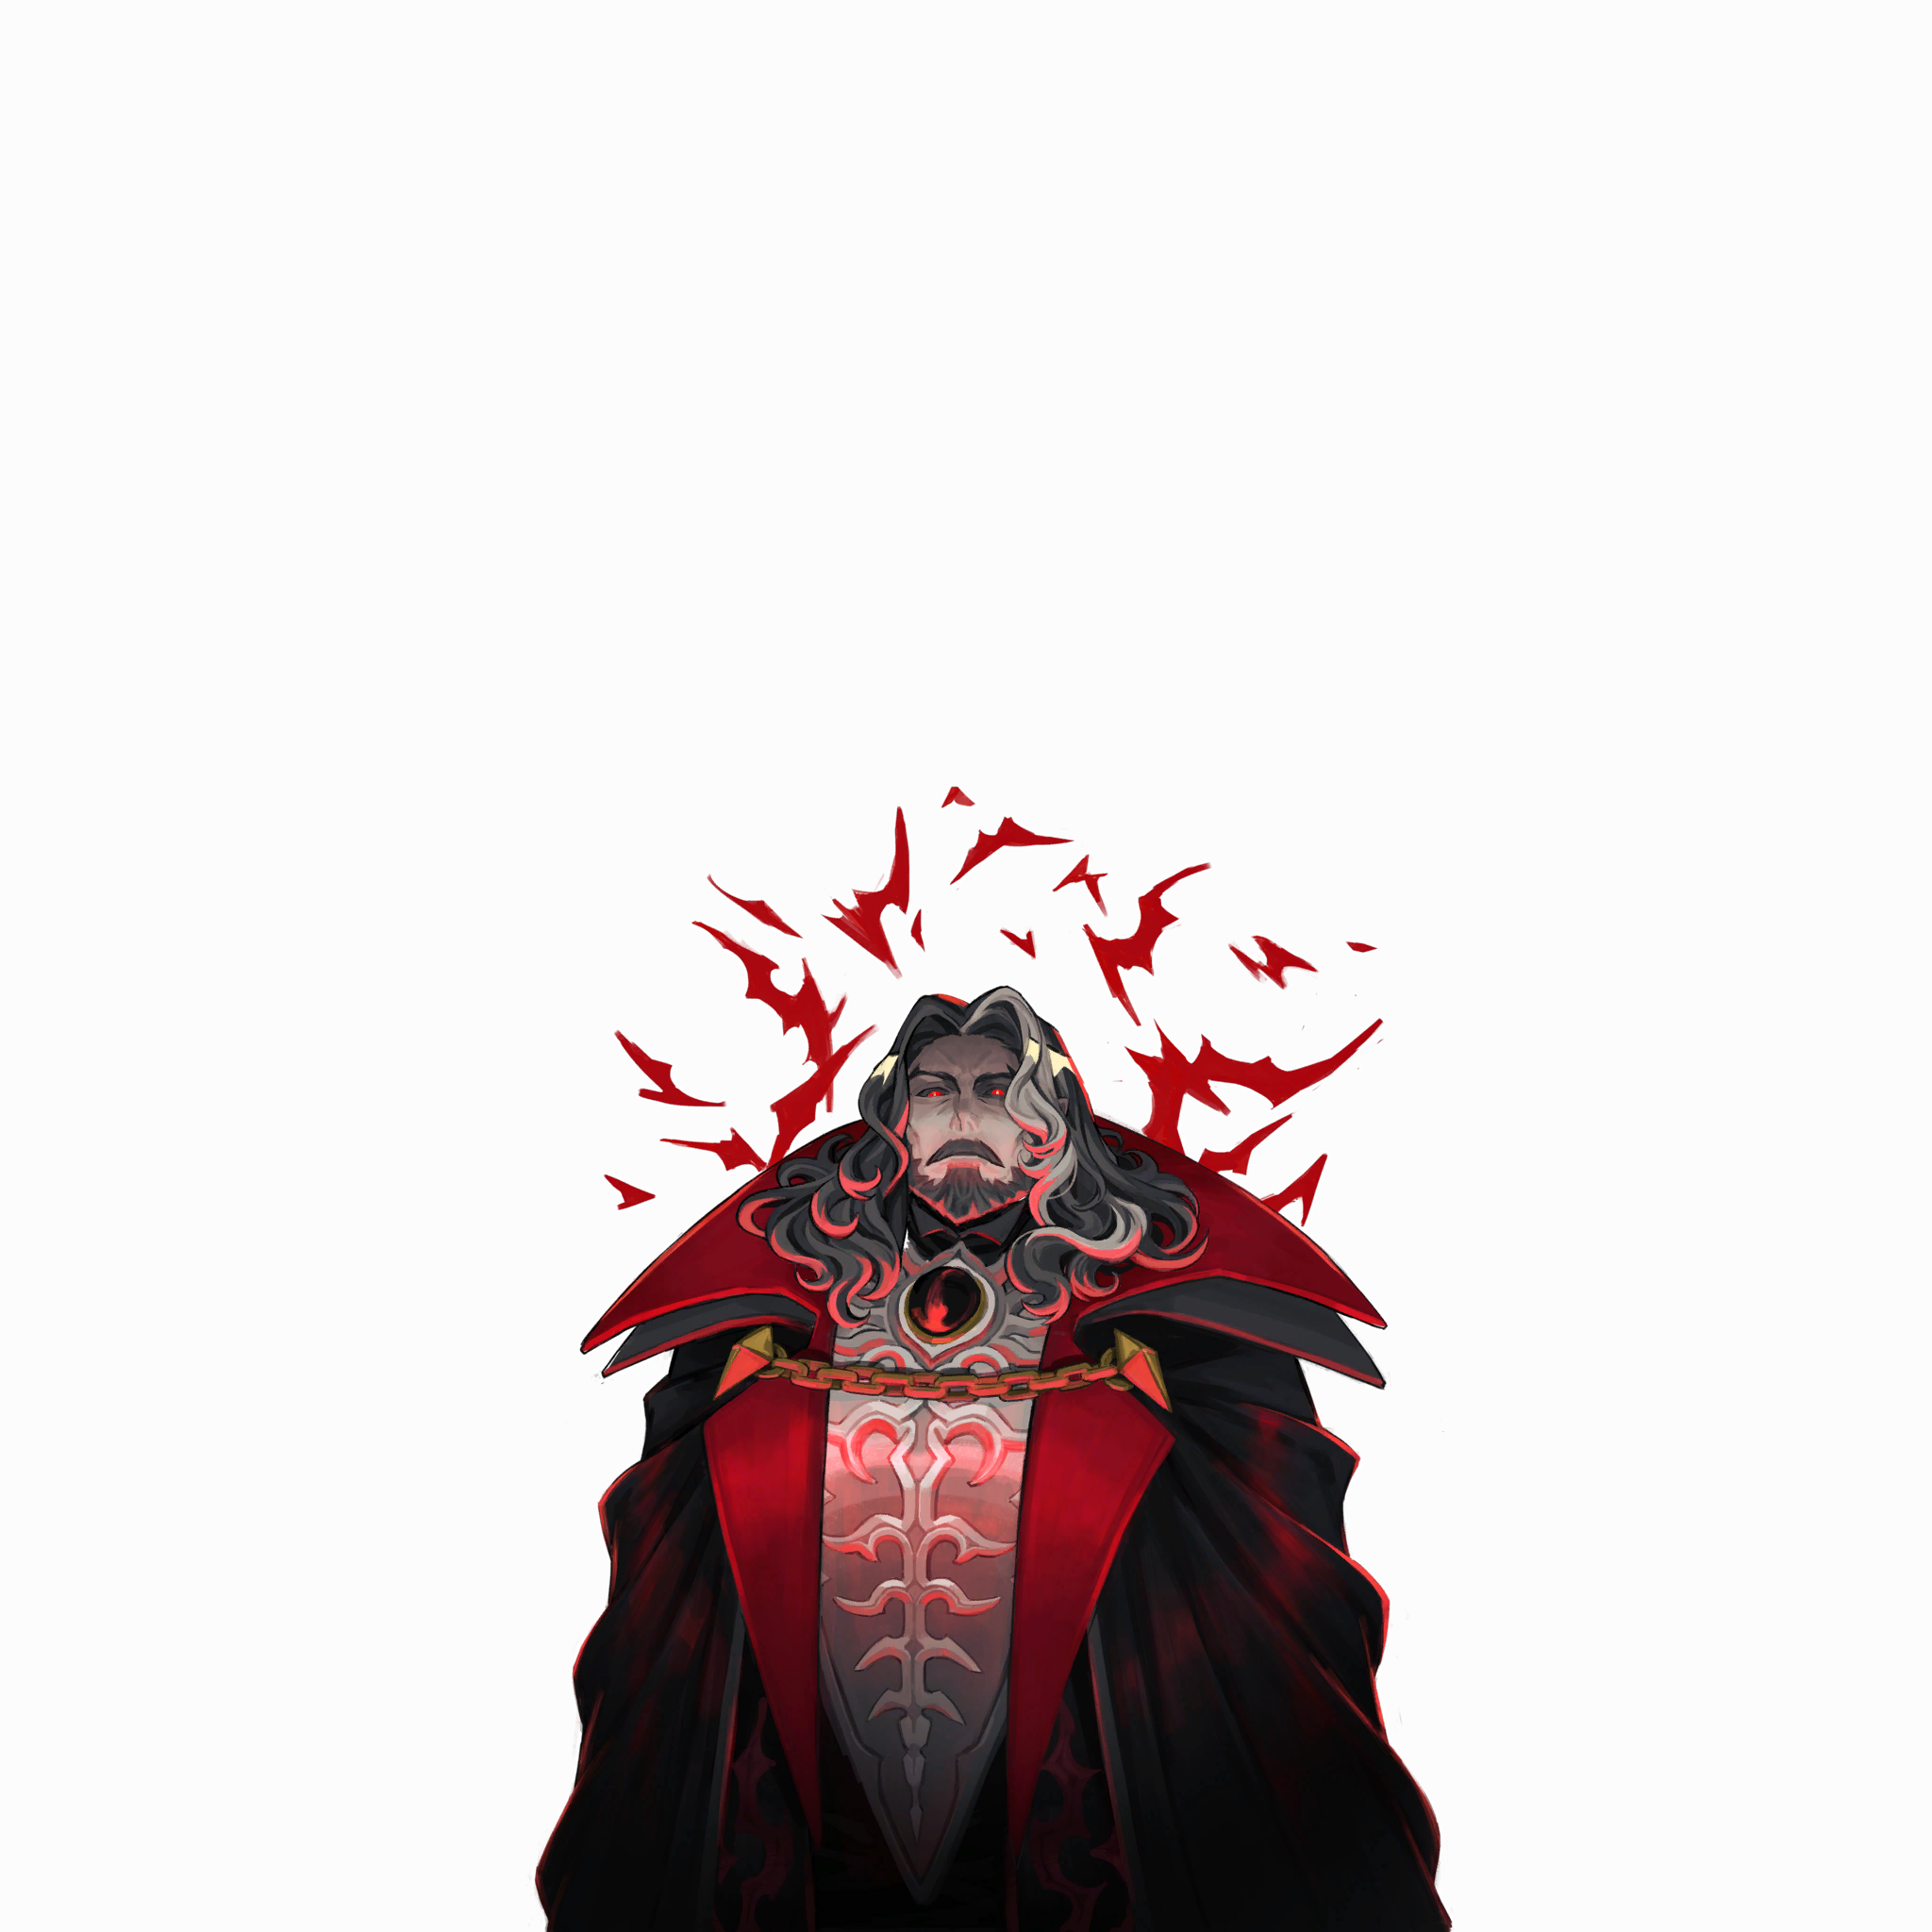
Dracula
Dodge the entire melee combo, then counter briefly during the recovery. When Dracula teleports behind you, recheck his position and your facing direction so you do not keep attacking empty space.
Entry requirements
Go to Dracula’s room in Master's Quarters. Be ready to fight his beast form after the first battle.
Spawn locations
Area
Master's Quarters
How to clear
Combat tips
If Dracula has 50% health or less at the end of his second melee hit, a third follows. His sequence of falling-fire attacks can lead into a counterattack behind him. The diving grab cannot be parried; if it misses, the landing recovery gives you a better opening for brief attacks or healing.
Phase one
Melee and teleportation: third combo hit when Dracula is at half health or below
Moves and states
After the first melee hit, Dracula prepares a second hit or a teleport depending on which way Rose is facing. If he has 50% health or less when the second hit ends, a third follows. Teleporting does not interrupt the combo.
Dodging and handling
Keep moving after the first hit. After a teleport, check Dracula’s new position and attack direction. When he is at half health or below, dodge the third hit before attacking. Getting behind him alone does not make you safe.
Counterattacking and advancing
When Dracula is above half health, attack briefly after confirming the second hit has ended. At half health or below, wait for the third hit to miss and recovery to begin. As his health approaches half, prepare for a third hit: he may cross the threshold during the combo.
Phase two
Ranged attacks: falling fire can lead into a rear counterattack
Moves and states
Besides projectiles, fire pillars, and meteor rain, there are also three consecutive falling-fire casts. Near the end of the falling-fire sequence, it checks whether Rose is behind it and may prepare a counterattack; getting behind does not guarantee a damage window.
Dodging and handling
Avoid projectile paths and landing spots beneath your feet, leaving room to dodge all three falling-fire casts. Even after getting behind it, keep watching whether it turns to prepare a counterattack; do not stop to cast after the first shot passes.
Counterattacking and advancing
Attack briefly only after confirming that the falling-fire sequence and any possible follow-up counterattack have ended, and ground flames have cleared a path. Regular projectiles have a very short separate recovery; do not treat the end of firing as a reliable chance to drink a potion or perform a long combo.
Phase three
Diving grab: dodge the grab, then wait for the landing pause
Moves and states
After jumping, it first enters a tracking phase, then dives to grab; the grab ignores parries. A missed grab leads to a separate landing recovery; there is also a stomp attack; after this fight ends, you still have to face the beast form.
Dodging and handling
Keep moving and watch the dive direction; when it swoops down, leave the frontal grab range rather than trying to parry it. After the grab misses, approach only after confirming it has landed and there are no nearby fire pillars or meteors.
Counterattacking and advancing
The landing pause after a missed grab is better for brief attacks or replenishing supplies than regular projectile recovery; retreat in time before it gets up. Save the resources needed for the beast form; do not treat the first takedown as the end of the whole fight.
Post-battle rewards
Post-battle steps
After the first fight, continue against Dracula’s beast form. To pursue the ending that lifts the curse, obtain Absolution beforehand and have full MP ready for the final sequence.
Base stats
Base HP: 7666