
Dracula (beast form) strategy
Complete the fight against Dracula in beast form. To lift the curse, obtain and equip Absolution beforehand, have full MP, and actively charge and cast it in the final phase.
Watch the wind-up first, then choose your response; the steps below are not a fixed attack sequence.
Detailed steps
After the first victory over Dracula, the fight continues against his beast form. To lift the curse, obtain Absolution before this final section.
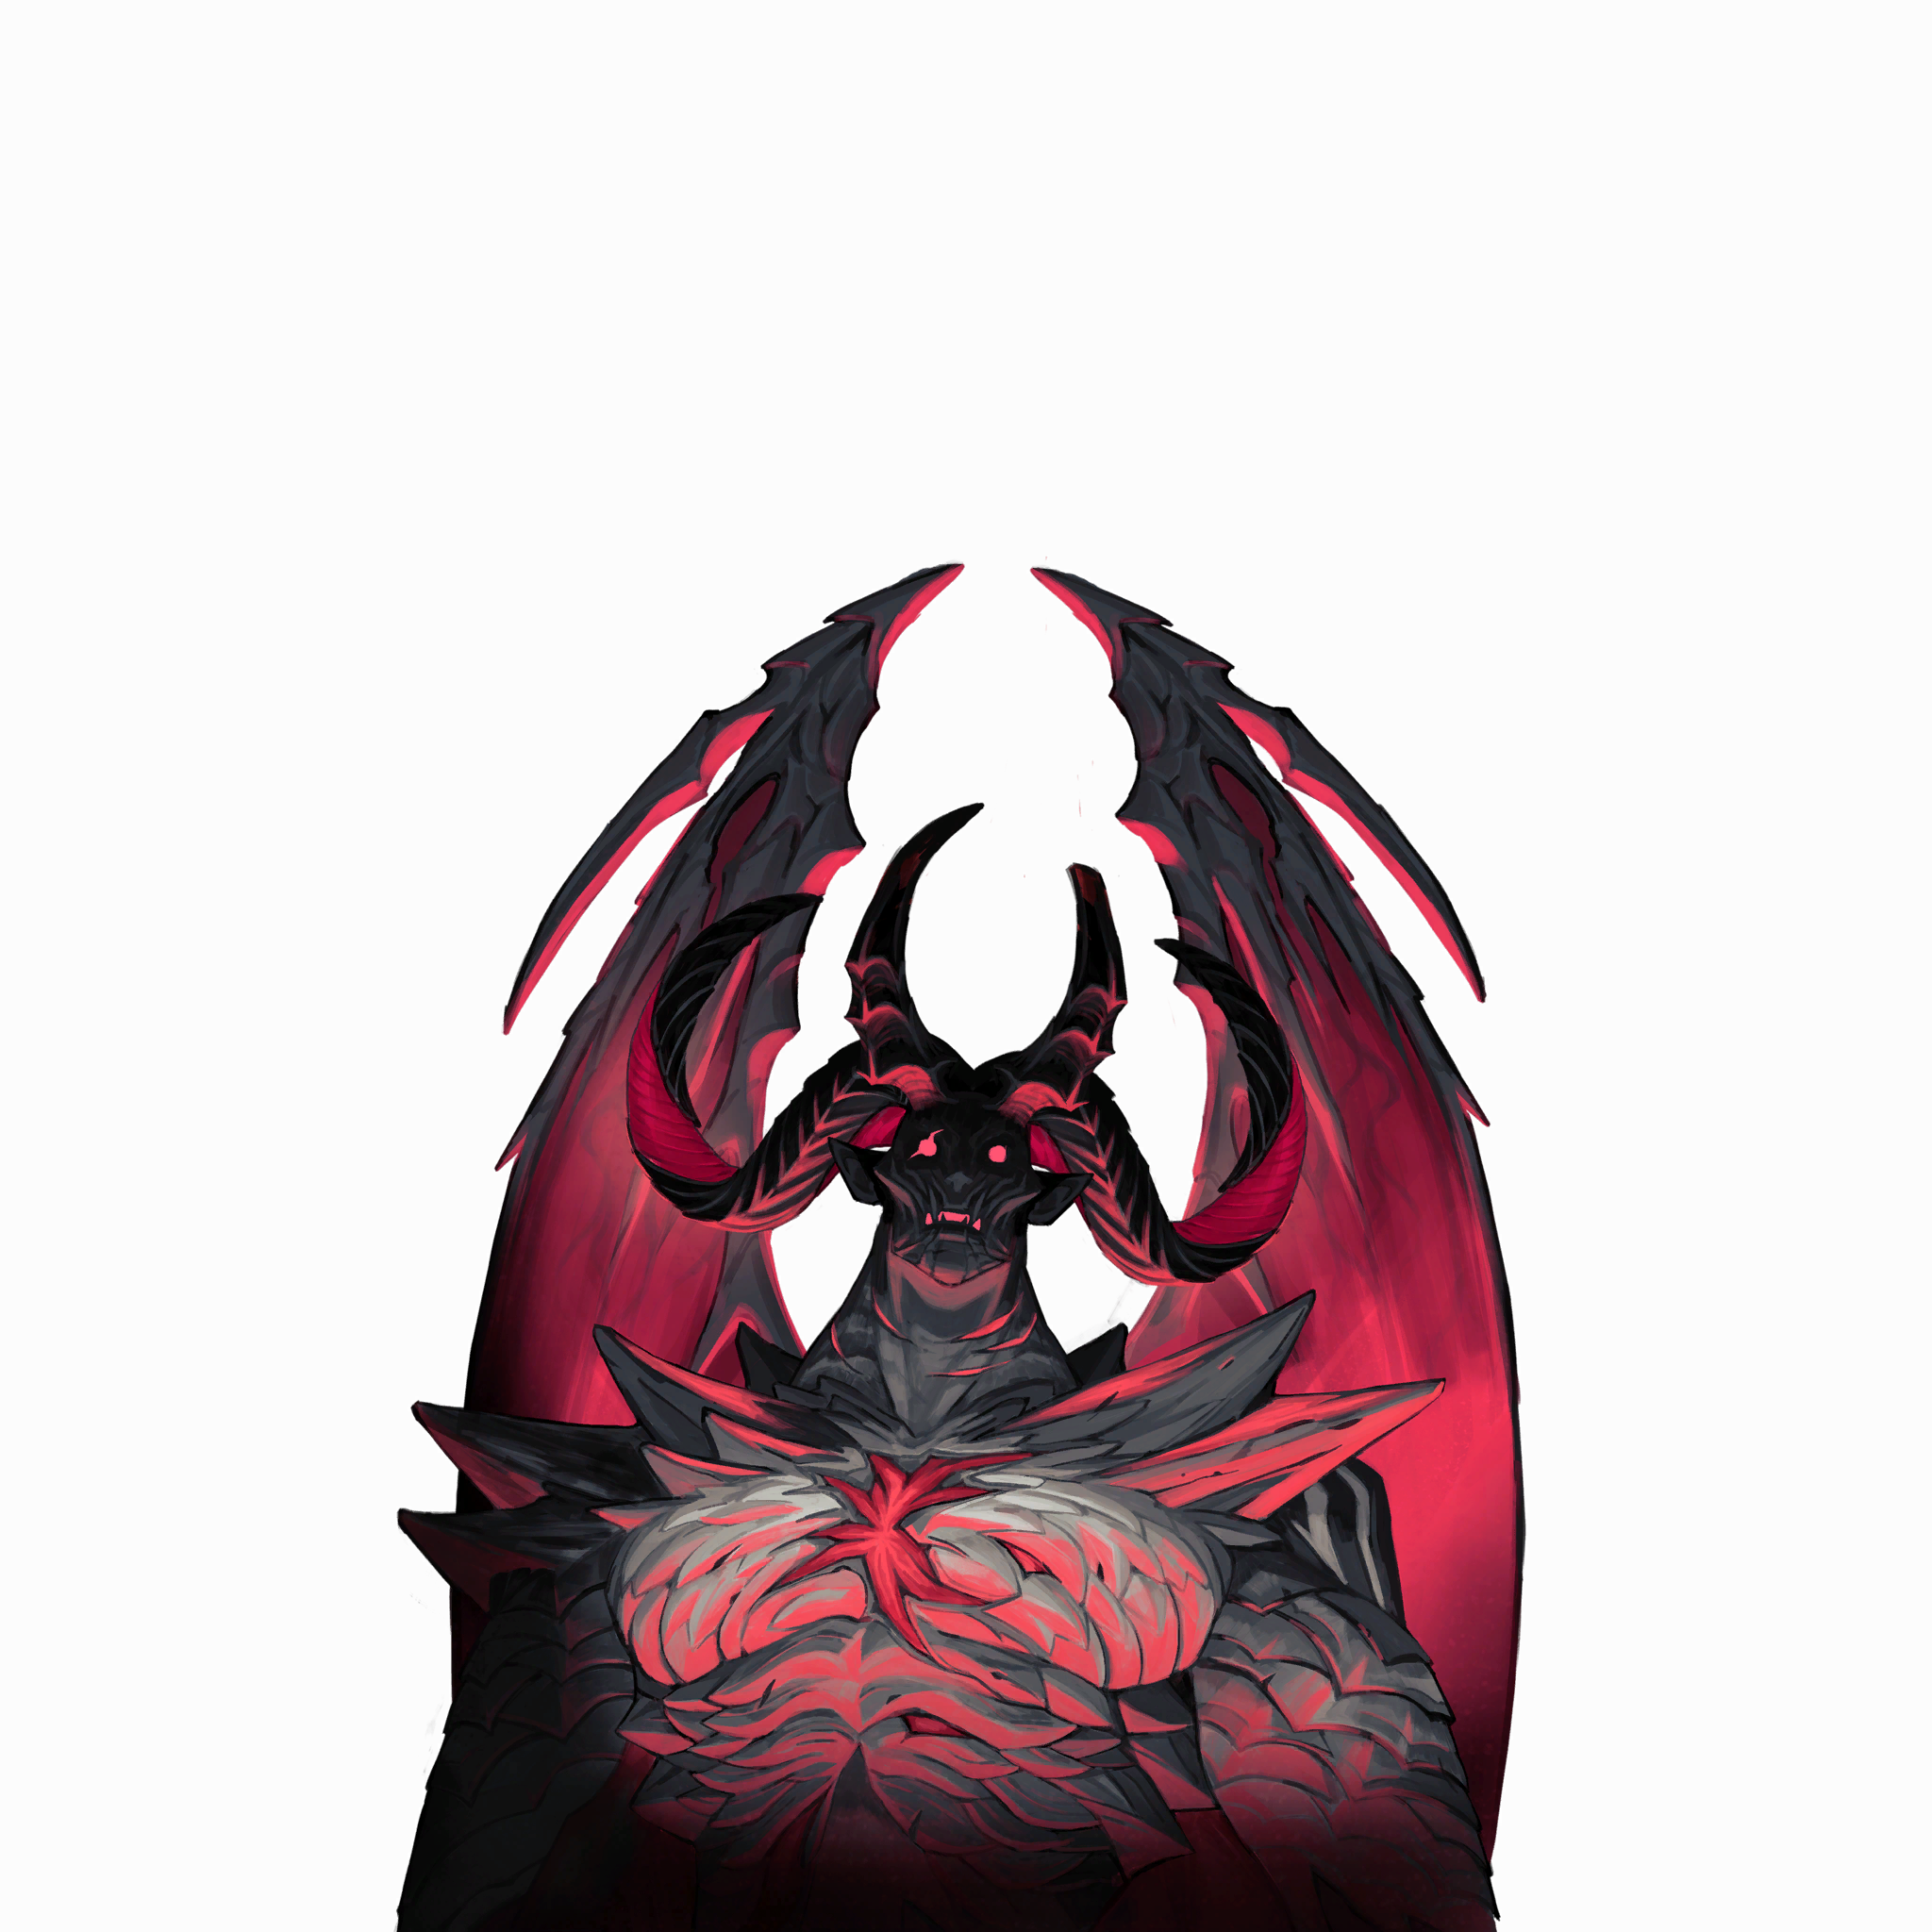 Dracula (beast form)
 AbsolutionAbsolution: prerequisites and completion conditions for the Four Virtues trialsDracula (Beast Form) · Master's Quarters
Melee loop: three-hit claw combo and follow-ups after the ground slam
Attacks: The first two claw strikes lead into a third, during which it can turn around. The ground slam has only a brief transition afterward, then it checks the bat storm or repeated forward-moving claw strike branches. Do not treat the end of the slam as recovery from the entire sequence.
How to dodge: After dodging the first two claw strikes, still watch for the third. Even behind it, keep watching for a turn. For the ground slam, first move away from the impact point, then watch whether its body turns into bats or keeps clawing forward. Leave an escape route for the follow-up attacks.
When to counter: Attack briefly when the third claw strike ends and recovery begins. Use the brief pause after the ground slam mainly to reposition. Approach only once the follow-up attacks have truly ended; do not drink a potion in its path of advance.
Bat storm: reappearing continues the current combo
Attacks: After moving, the bat swarm reforms its body, then proceeds to the next step of the current combo. Even if the bats in the arena are cleared, that does not mean its main body has entered recovery.
How to dodge: First avoid the bat swarm’s path. When it reappears, immediately check its facing and arm-raising motion, and keep responding to the follow-up melee attacks or ground slam. Do not dash prematurely toward the newly reformed body.
When to counter: Use the end of its post-reappearance follow-up attacks and the onset of actual recovery as the signal to counterattack; if all you see is the bats disappearing, stay ready to dodge and do not start a long combo.
Dracula at 75% health or below: meteors also depend on his arena position
Attacks: At no more than 75% health, it has a chance to choose the meteor attack, still depending on its current arena position; it is not cast immediately upon reaching the health threshold. Its own post-cast recovery is very short, and meteors in the arena may still be flying.
How to dodge: Watch the meteor paths and resulting fire patches, and move to safe footing first. Do not assume the major attack is guaranteed from the health threshold, or immediately cross lingering attacks when its body stops casting.
When to counter: Attack briefly only when the meteors and fire patches have truly cleared an approach route and its body is not starting a new attack; the end of this move does not guarantee enough time to drink a potion. Near the end of the fight, keep the full MP required for Absolution.
At the curse's conclusion, actively cast Absolution. Equip Absolution beforehand and have full MP. When an opportunity arises, hold the casting key, fully charge, and release. Merely possessing Absolution will not automatically succeed. Waiting too long leads to the normal ending.
Complete the final story sequence and watch the ending.
Reading progress management
Checked steps are stored only in this browser, separately from the game save.
Select the previously exported progress file to replace this game's progress in the current browser.